

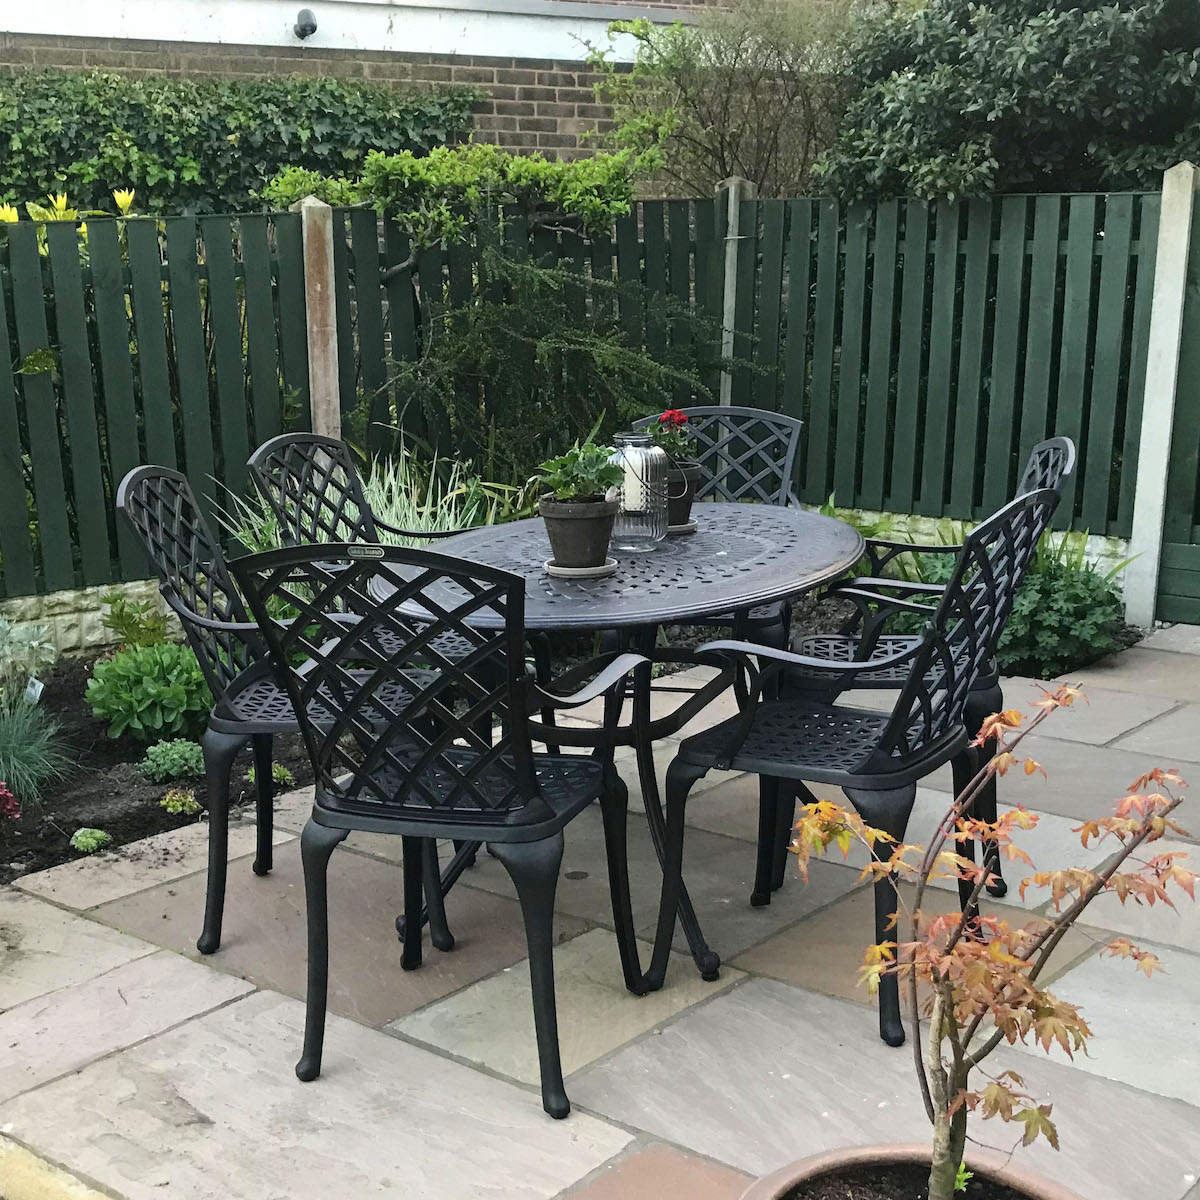
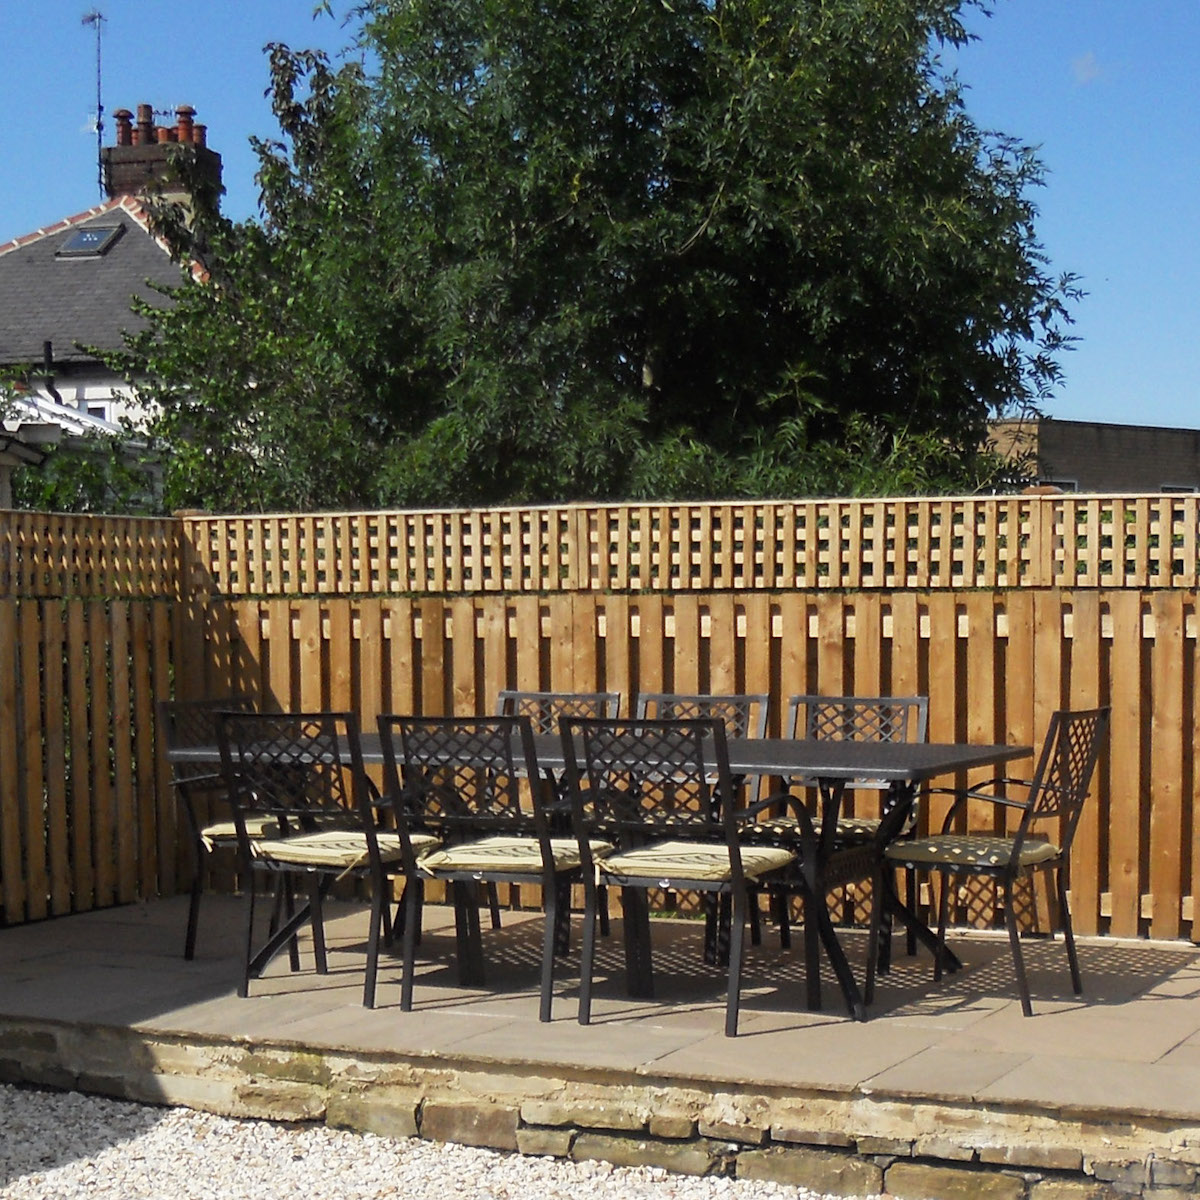
Many people who have wooden fencing simply don't take on board the need to maintain it and as a result that 20-year guarantee ends up slashed in half (or worse) through our own neglect.
So what do you need to do to keep it looking in good condition and most importantly protect the timber? Well the UK climate can be harsh, so it is important we take a few basic steps to help protect our fences from the elements.
For example, your fence will need protection from the sun's UV rays in the summer, whilst winter brings freezing and snow.
In fact, let's face it we can get all weather in one season, so a protective coat of paint, sealer or stainer will stop any damage to the timber.
And this is something we really need to be doing every year, in order to protect your fence against things like discolouration or from damp/rot taking hold.
Another thing to keep in mind in terms of the type of maintenance you need to perform is the position of your fence.
If your fence is exposed to direct sunlight for most of the day, situated in an open space where it faces strong winds, or you live near the coast (where you'll have the added problem of sea air), then a little extra maintenance could be on the cards.
It is also critical that you keep a close eye on the bottom of your fence. If it is in direct contact with the ground, over time it will absorb moisture from the soil.
Even if you've already installed your wooden fence, it is vital you maintain it throughout its life to keep it durable and strong.
So with that in mind, I wanted to use this blog post to share a few of Lazy Susan's tips on how often you should stain or seal your fence panels as well as how to protect them from the elements.
Basic DIY wooden garden fence repairs and maintenance
The main part of maintaining a wood fence is to make sure you repair any damage to the panels. A wood fence can be damaged in any number of ways from rotting to splitting, so it is important that you try and keep on top of things.
And if it is damaged beyond repair, then get it replaced... That's the big advantage of wooden panel fencing, you can repair or replace individual pieces rather than the entire fence if needed.
Basic repairs that anybody with any basic DIY skills can perform, include re-painting/re-staining and replacing a fence panel. Both are simple jobs that you can get done in a few hours.
Fence posts are the tricky part, so if they need replacing and you don't feel you can do the job correctly (and by that I mean fitted securely into the ground), then please call a professional
If on the other hand, your fence is looking a little grubby from mould etc, then get a pressure washer and a little Ronseal Deck Cleaner will get it clean. Don't set the pressure too high though, as you can strip the timber.
How to stain and protect your wooden garden fence
If you haven’t painted your wooden fence panels, then you have to seal them to protect them from the elements. Staining will give your fence panels a hint of colour while maintaining that natural look.
As a general rule, when water no longer beads up on the surface of fencing, then you need to re-stain in. But to be honest, in the Lazy Susan garden, we tend to find that we do this once a year, usually in late spring.
Staining will preserve and freshen up the wood on your fence, and our advice for doing it yourself is as follows:
- Choose an outdoor wood stain that contains UV inhibitors and is designed to stand up to the elements - again, Ronseal would be our choice.
- Always make sure the wood is clean, dry and free of grease before you stain.
- Before you apply the stain, always strip off any existing finish and completely sand the wood.
- Apply the stain with a good quality 4-inch paintbrush or painting pad - cheap paintbrushes will lose their bristles!
- Always work with the grain and never paint the stain across it.
- Use a smaller 2-inch paintbrush to get the stain into all cracks and crevices, between boards and around screws etc
- Blend the edges of each application to prevent any streaking
- Work quickly and don't stop in the middle of a board to take a break.
- And finally, always apply at least two coats.
- It's easier on you (and better for the paint) if you don’t work in direct sunlight or during the heat of the day in mid-summer. Direct sun will dry the paint too fast and it won’t be able to soak into the timber and provide the proper protection.
- The small rollers you can now buy are also a good option for painting the face of the fence boards. Some people find it's easier on their wrists and shoulders than dragging a brush up and down.
- You could also go down the sprayer route, but my experience with these was a nightmare, it went everywhere and made a mess of next door's patio.
- And with that said, make sure you take the time to speak to your neighbours! Just, make sure all parties are happy with what needs to be done before you start. Usually, you'll find they'll buy the same stain to keep up appearances!