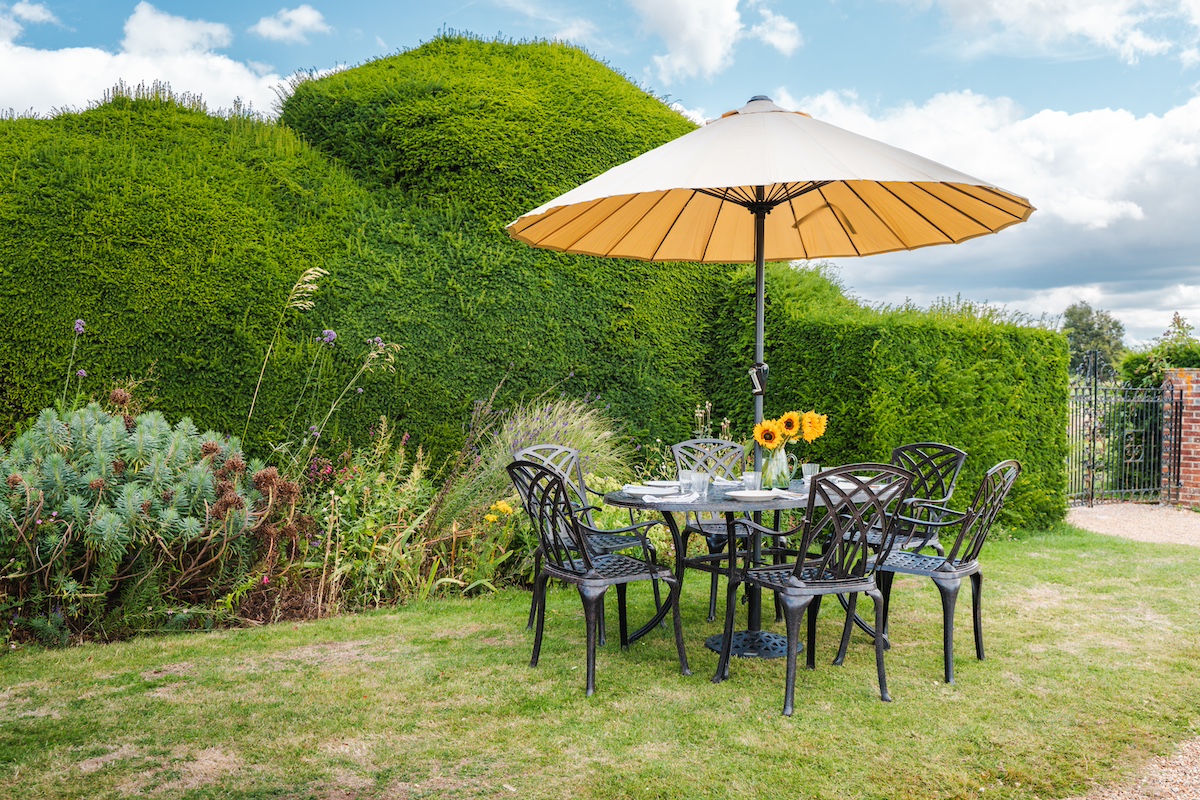
All our garden furniture is supplied Ready-To-Assemble and we looked at the reasons why in our advantages of RTA article.
Assembling our Garden Tables and Chairs will vary a little depending on the specific set/model you have purchased but much of the basic steps are the same.
Supplying our high-grade cast aluminium in an easy-to-build format with simple nut, washer and bolt assembly is the logical solution for online retailers such as us.
Assembly is kept simple and RTA means the pieces are securely built, shipping costs are kept low, the risk of damage in transit is reduced, and you have the option of disassembling and reassembling if you need to store or move house.
To help you with the process, here are some general guidelines and helpful tips that will apply to most of our range.
In this article, we will use our best-selling June Garden Table and April Garden Chairs (pictured above) as an example but please always refer to the specific assembly instructions that come with the set you purchase for precise details.
1. Open and unpack
Carefully check all the correct parts, components and tools have been packed and shipped to you.
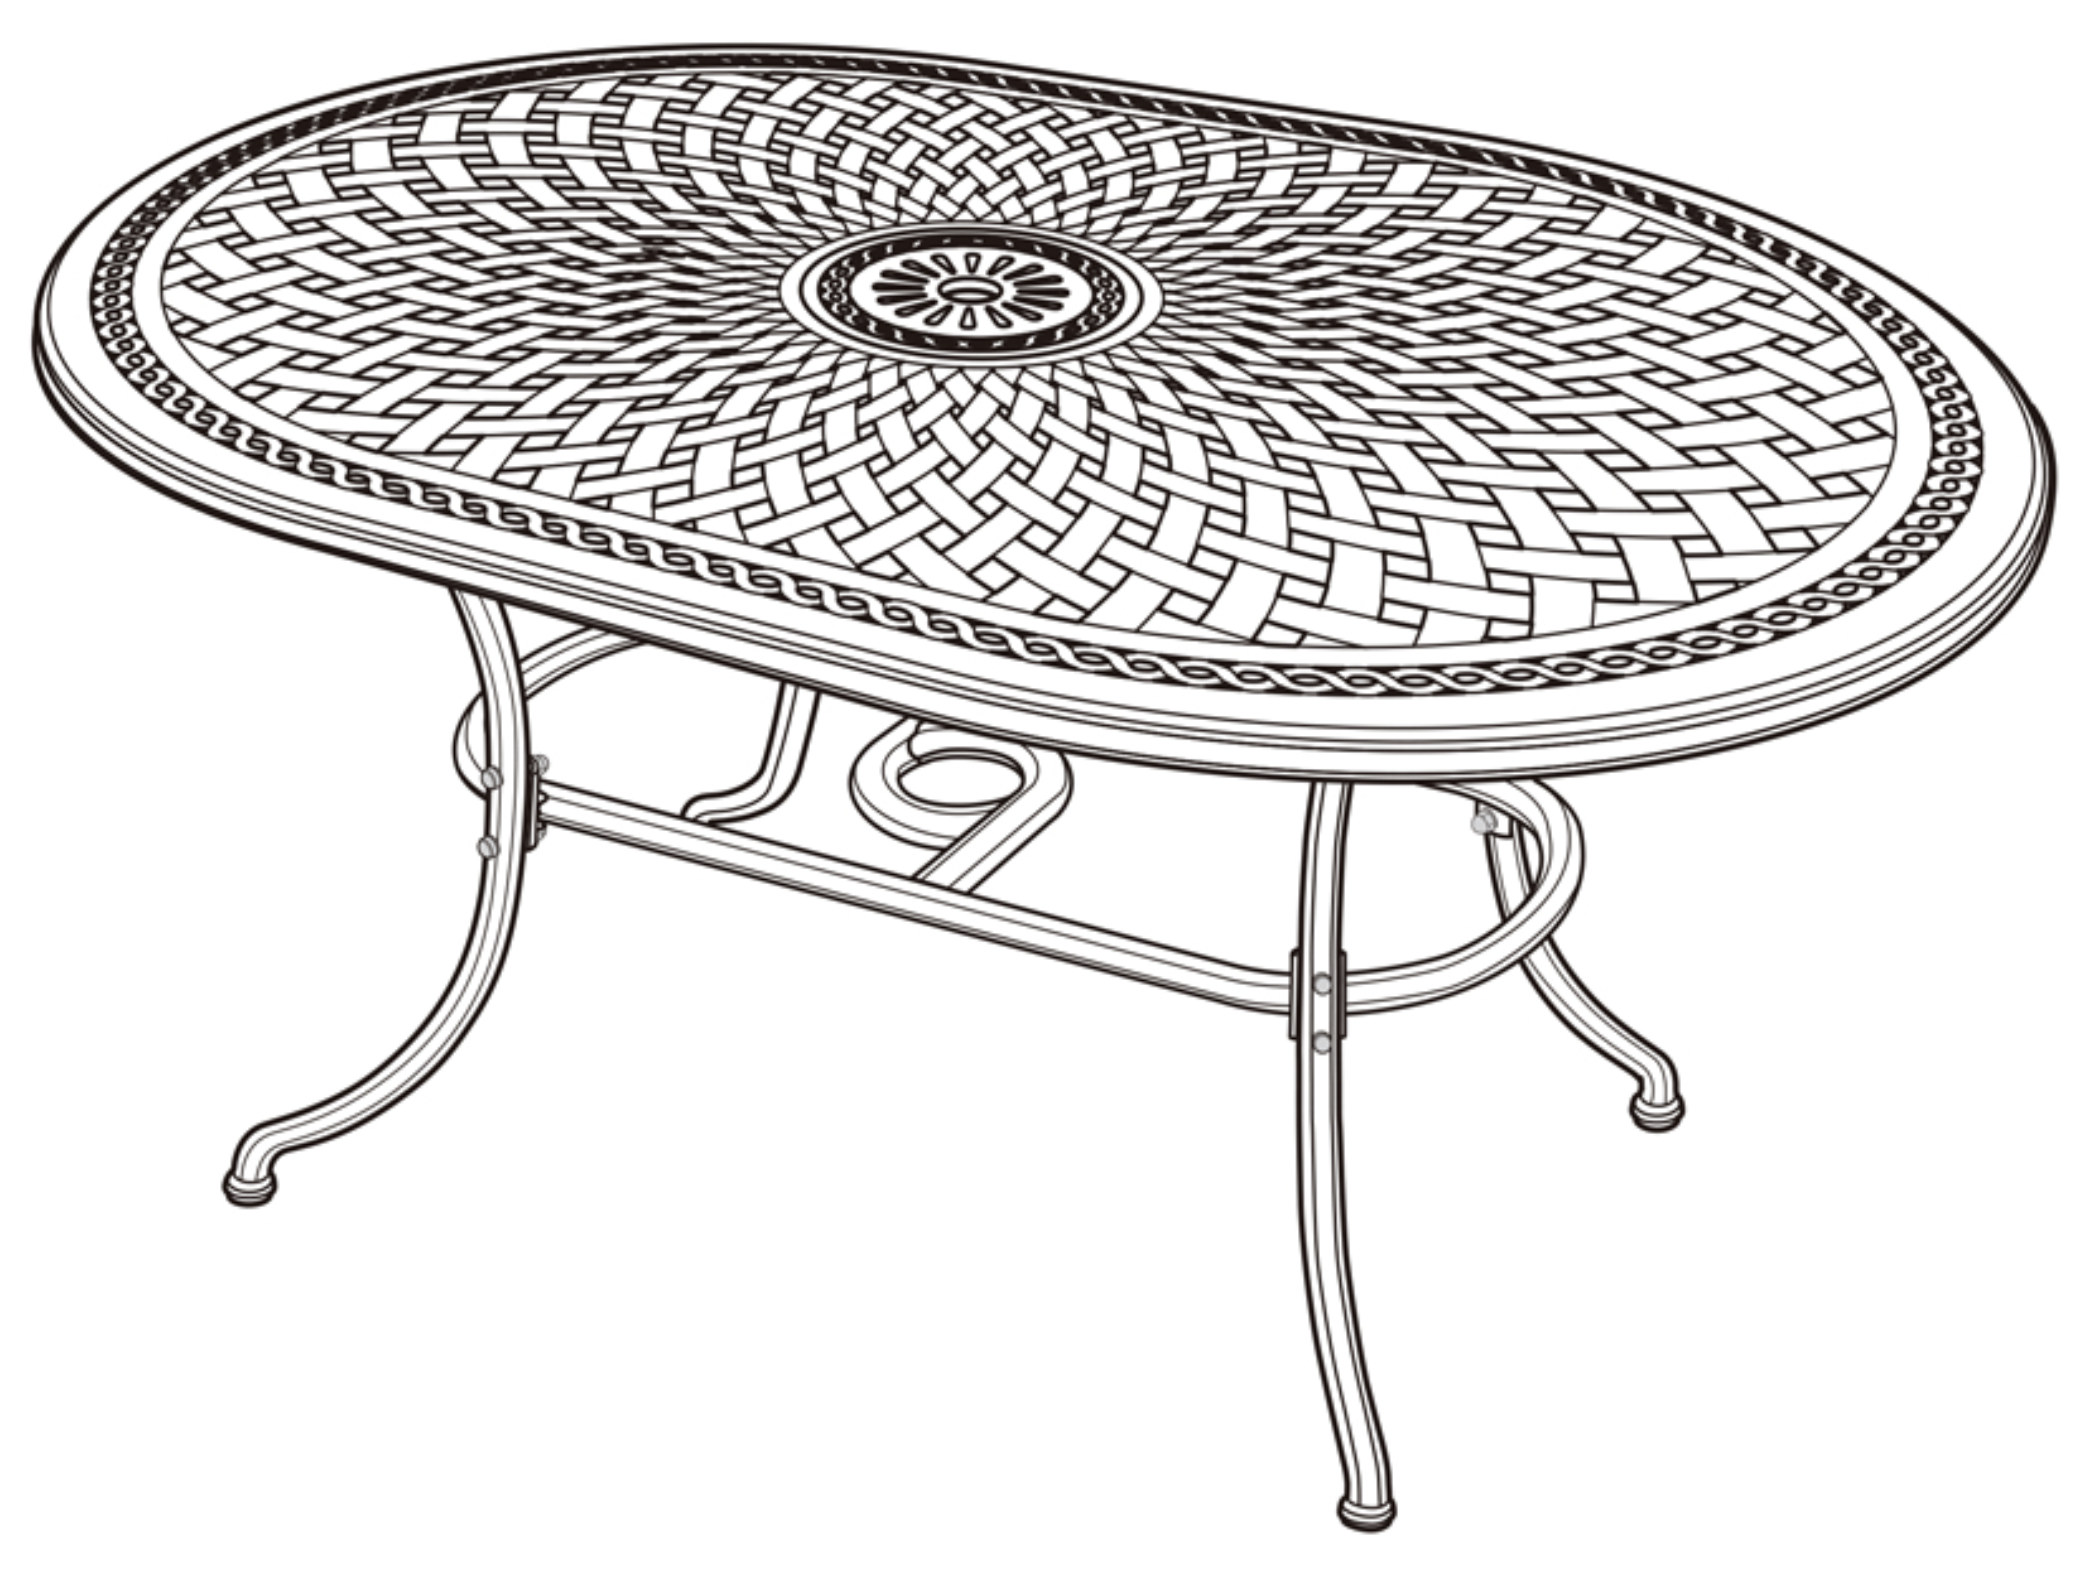
In your June Table box for example you will find the following components:
- 1 x Tabletop
- 4 x Legs
- 1 x Under Shelf
- 1 x Spanner
- 8 x M6 55mm Hex Bolts
- 8 x M8 35mm Bolts
- 8 x M8 Nut Caps
- 8 x M6 Bolt Caps
- 8 x M6 Nut Caps
- 8 x M8 Nuts
- 8 x M6 Nuts
- 8 x M8 Washers
- 8 x M6 Washers
You will also need a flathead screwdriver to attach the M8 35mm Bolts and a crosshead for all other bolts.
A top tip is to use a tray or plastic tub to keep all loose parts such as the bolts together and safe from rolling away when you open the blister pack.
2. Read the enclosed assembly instructions
Start by carefully reading the assembly instructions provided. The manual will contain specific instructions for your particular set, so it's essential you follow them carefully.
If you don’t have a printed copy in the box, then you can download a PDF copy by clicking the image above, from the product pages on our website or contact our Customer Service Team and they will be more than happy to send one to you.
3. Prepare to assemble
Lay out all the components and hardware to ensure you have everything you need, and check for any visible damage or missing parts before starting the assembly.
If anything is missing or damaged, please contact our Customer Service Team via our Contact Form or call them directly on 01243 68 48 28.
Never build your furniture directly on a patio surface.
Put a soft blanket down or use the large box the table was shipped in to protect your furniture from chips and scratches (as the ladies have done in the photo at the top).
Always make sure any bolts etc go in straight and are correctly lined up.
Finger-tighten all bolts and screws before finishing with the supplied spanner or a screwdriver as this will ensure everything is straight before you tighten.
If need be you can also apply a little WD-40 into each screw or bolt hole to reduce friction and prevent the crossing of the threads.
Never over-torque any of the bolts as you can damage the painted finish or threads and do NOT use power tools as they can easily over-tighten and cause damage.
4. Assemble your garden table
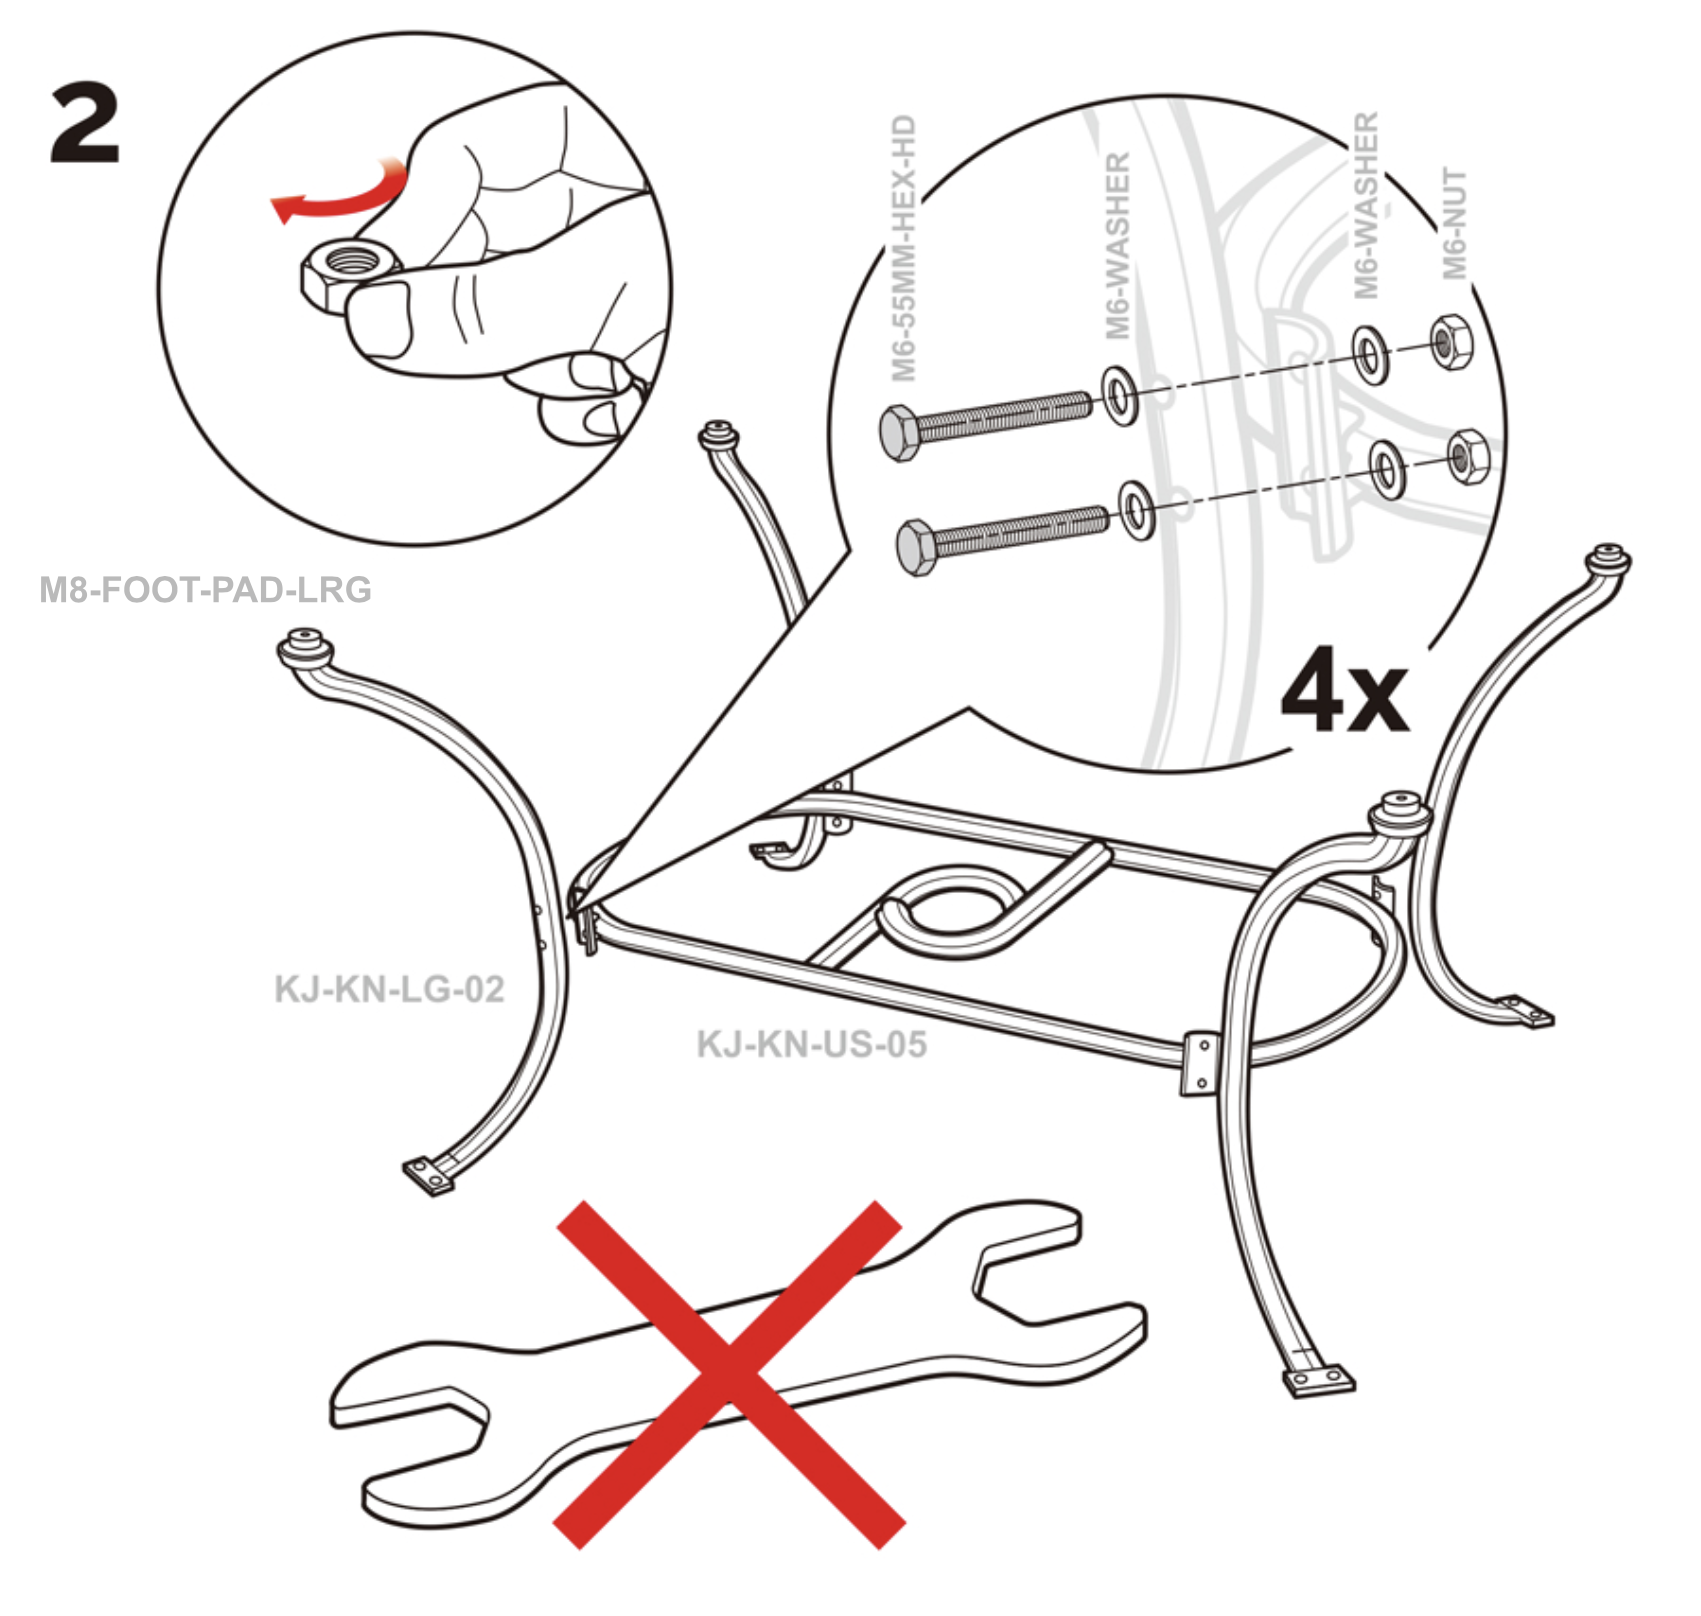
Attach the table legs to the undershelf by lining up the pre-drilled holes and using the bolts, washers and nuts and finger-tighten in place (as shown above).
Make sure you use and position the correct size bolts and put the washers in the correct place as per the diagram in the assembly instructions.
Where you see a crossed-through spanner symbol on your instructions, this simply means that at this stage of the assembly, you need to finger-tighten the bolts in the diagram.
Later in the process, when all four legs are attached, you will be prompted to tighten them up using the spanner provided. This is especially important when attaching the legs as it allows you to correctly position and align so all are level.
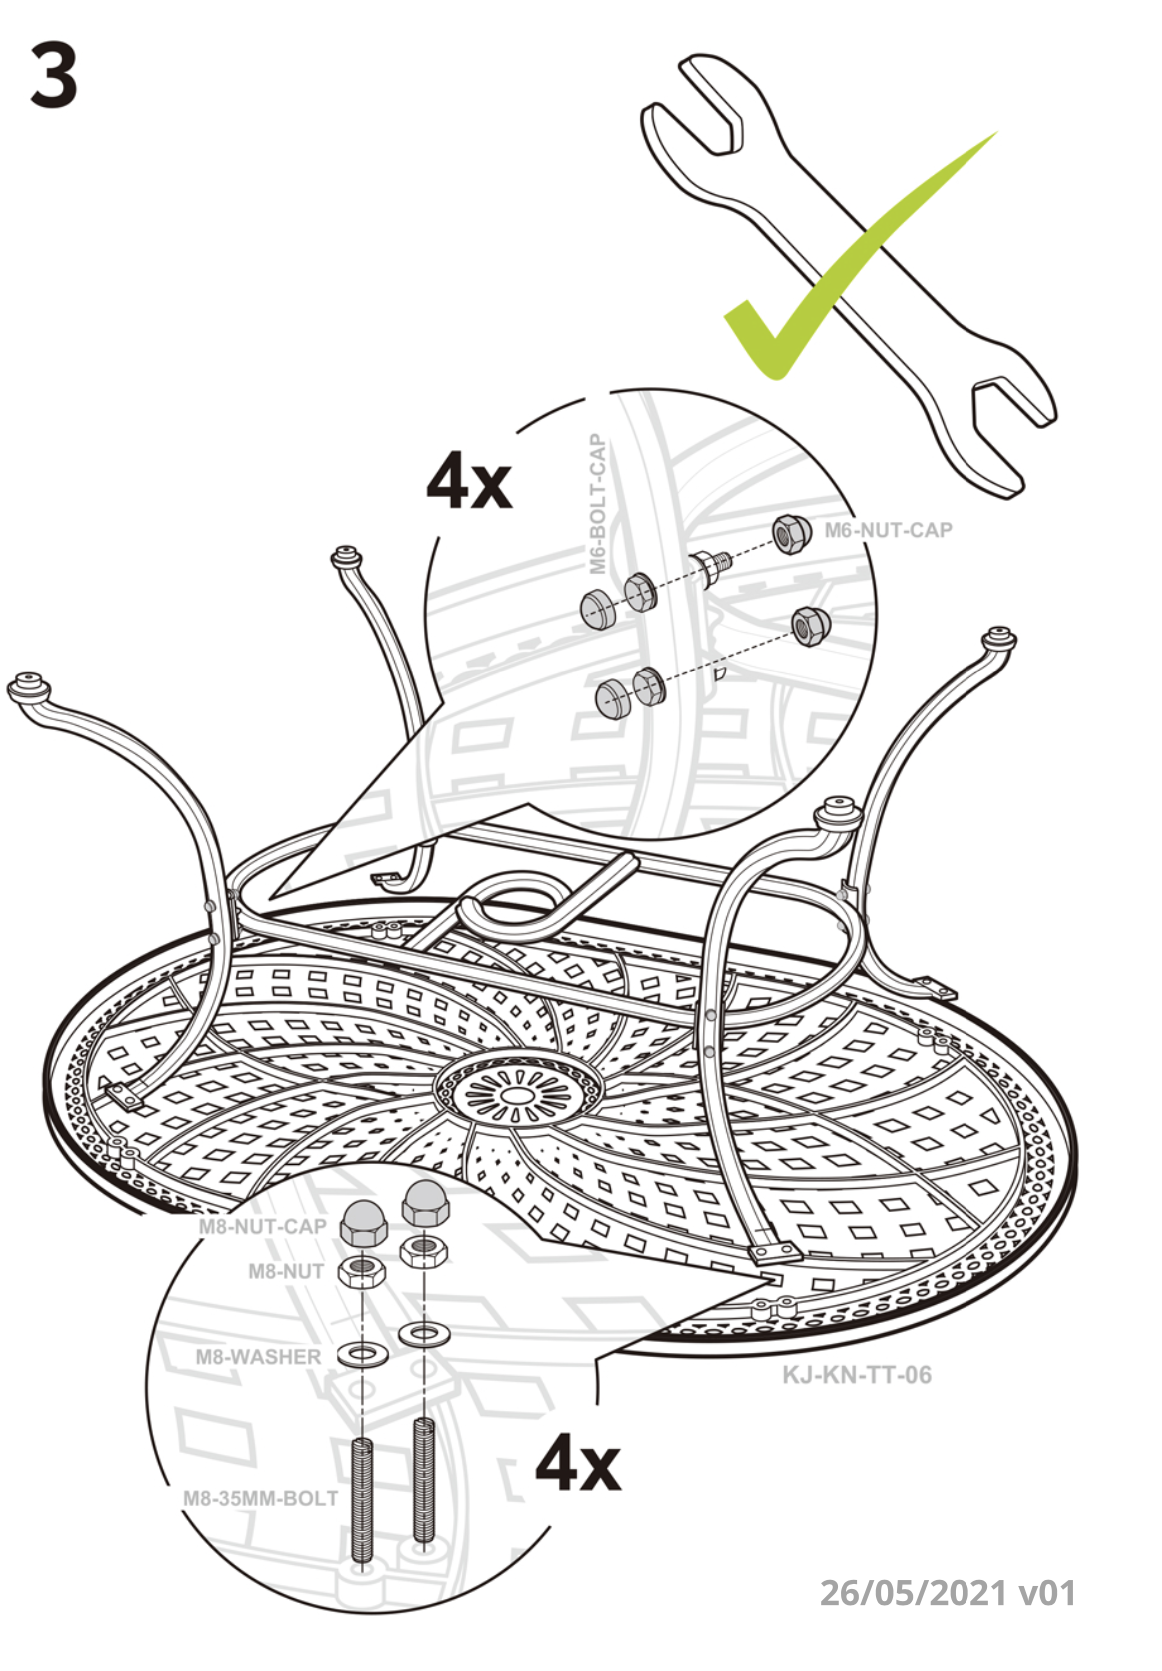
When all 4 legs are attached to the undershelf position the tabletop and attach to the legs with the bolts provided (as shown in the diagram above). Again, finger tighten first and ensure all is lined up correctly.
Avoid using power tools as it is easy to over-tighten and damage the metal furniture itself or the fixing bolts.
When all is in place, tighten with the spanner provided and fix the supplied bolt and screw caps as they will help prevent them from rusting and getting blocked with grime so they are easy to remove later if need be.
The process is shown in the video below for our June Garden Table:
5. Assemble your garden chairs
Once the table is assembled, move on to the Garden Chairs. Our June set is available as a 4 or 6-seater set and comes supplied as standard with our April Garden Chairs.
The assembly process is much the same as the table and is shown in the video below:
Start by attaching the backrest to the seat base with the correct bolts (shown below). Align the holes and make sure you use and position all washers, etc, correctly.
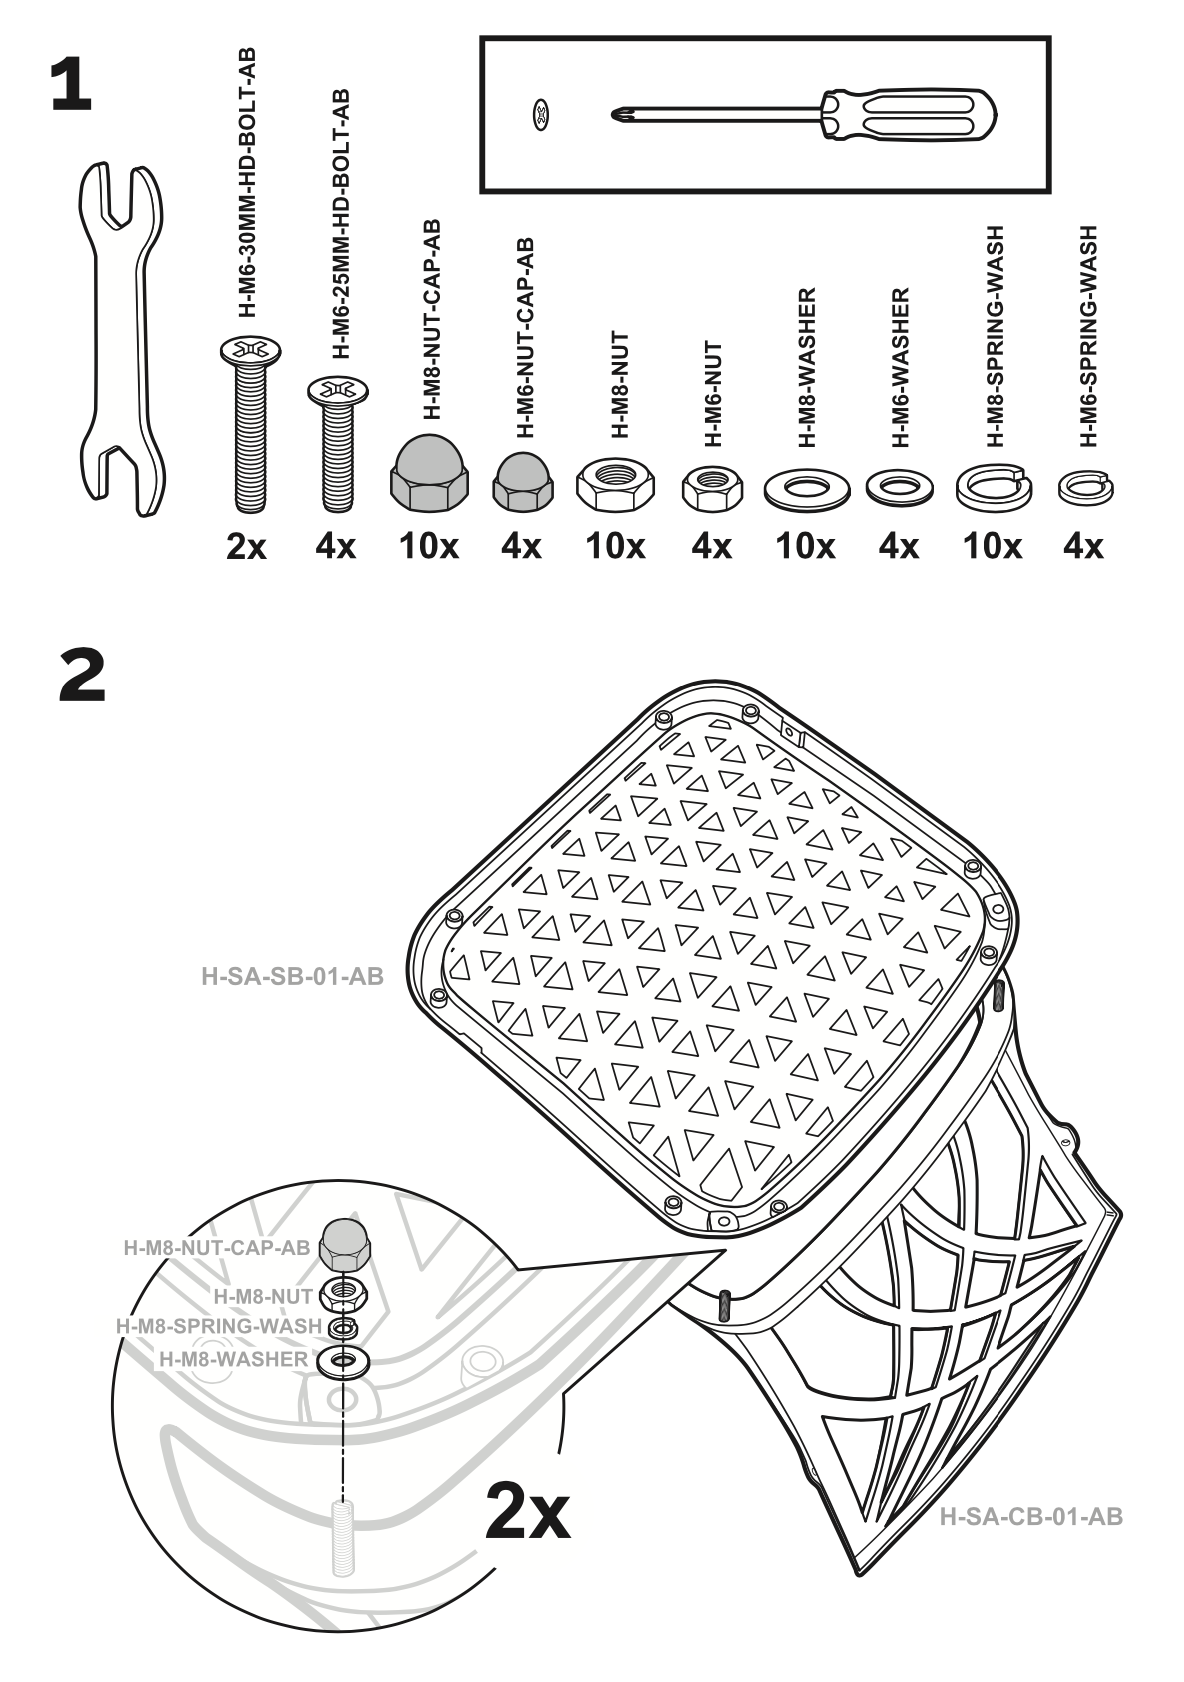
On some items, such as our garden chairs, you will often find that certain nuts and bolts have already been pre-attached to the individual parts, for your convenience.
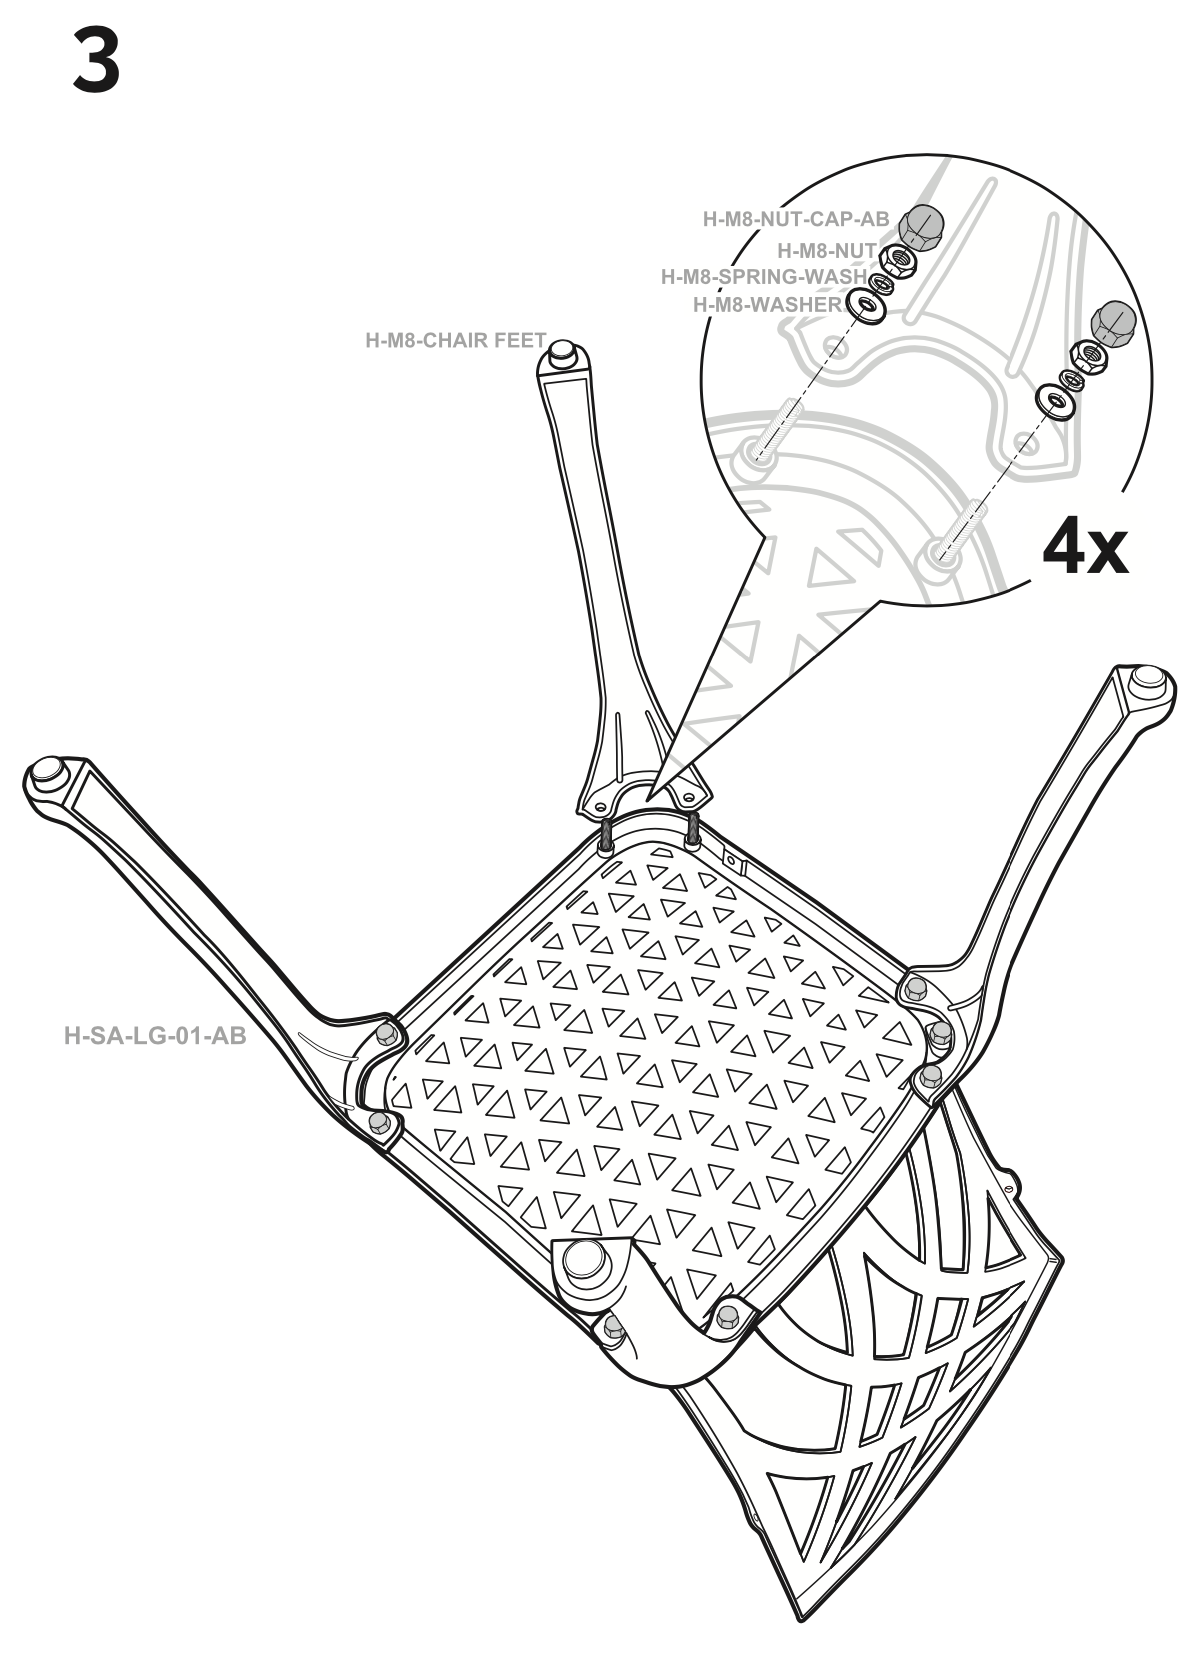
This is primarily on the seat bases of our chairs but any other loose fixings will be provided in a separate blister pack, and once the backrest is in place, attach the legs (as above).
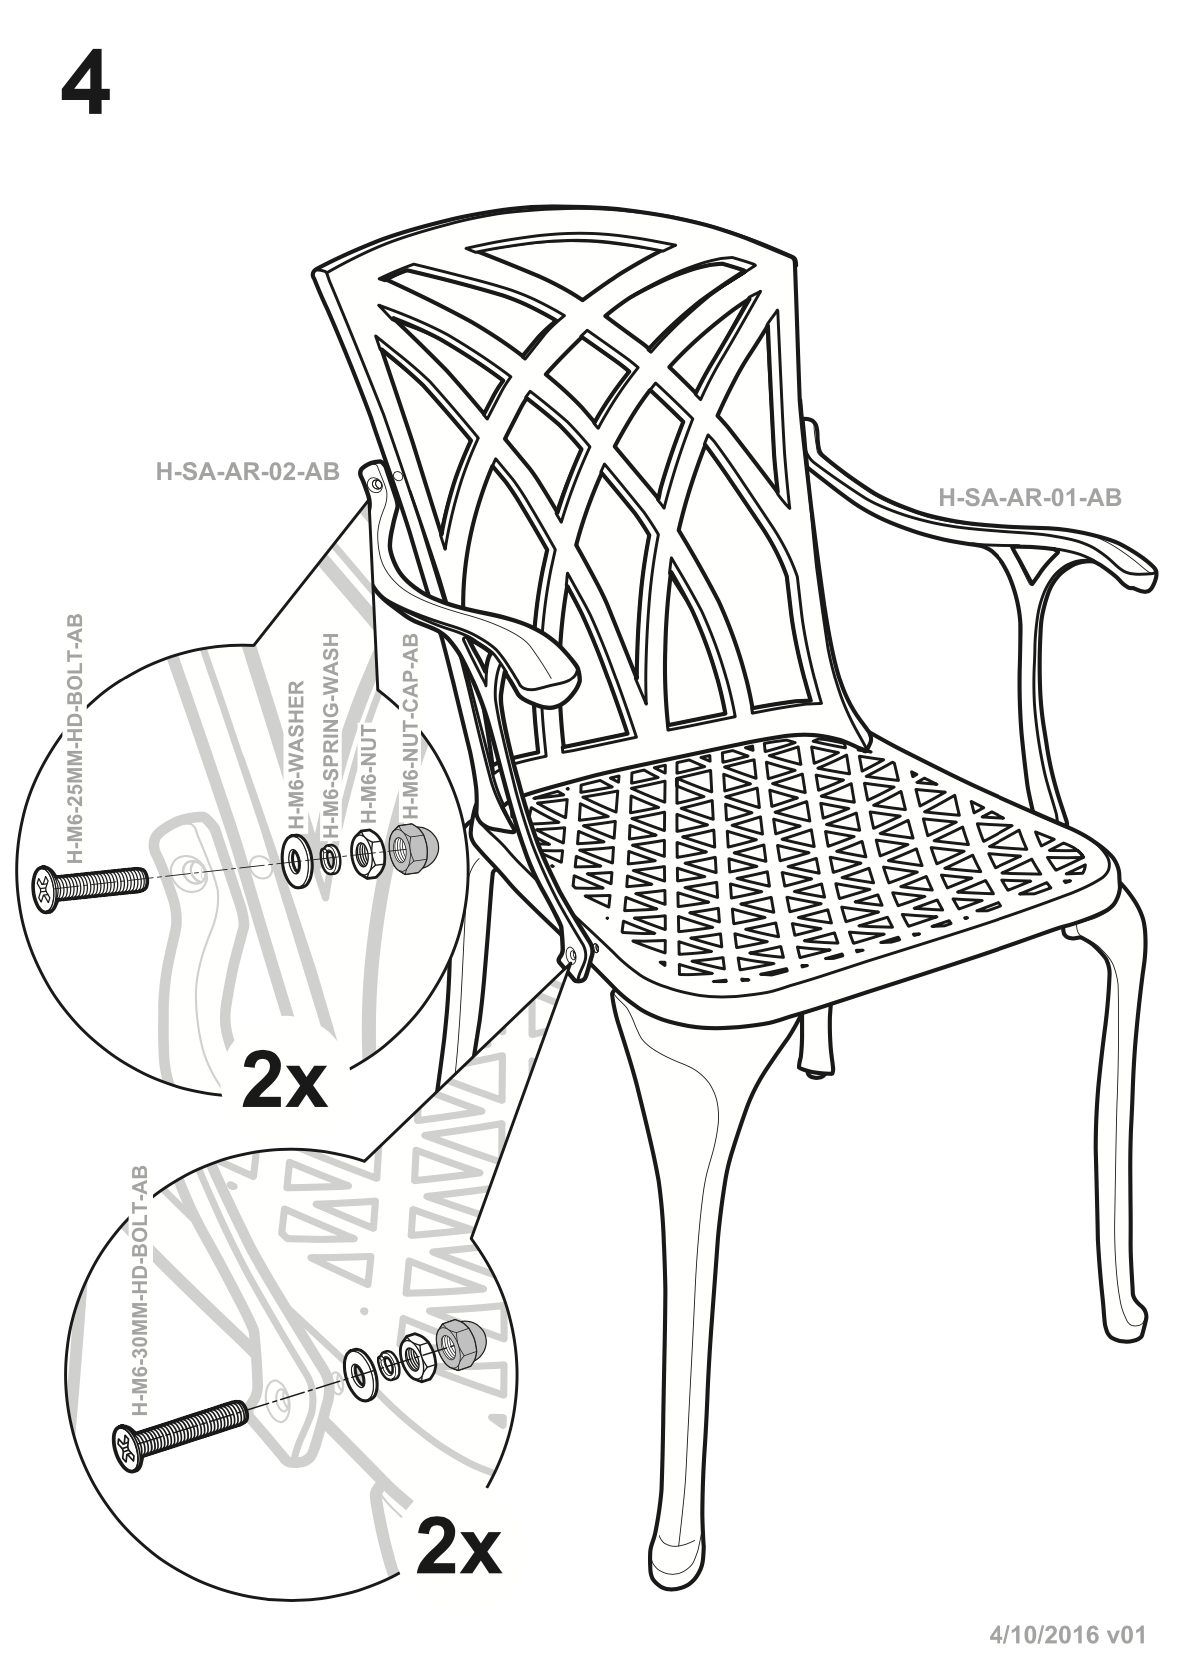
Our April Chairs also have armrests, so once the legs are secure, attach each with the correct bolts (as shown in the diagram above). Again, start by finger-tightening to ensure everything is correctly aligned, and then finish with the tools provided.
The best way to do this is to hold the spanner in place on the bolt and gently turn the screwdriver until secure. Fix the supplied bolt/screw caps to help prevent them from rusting, and repeat for the other 4 or 6 chairs.
6. Check the table and chairs are stable and level
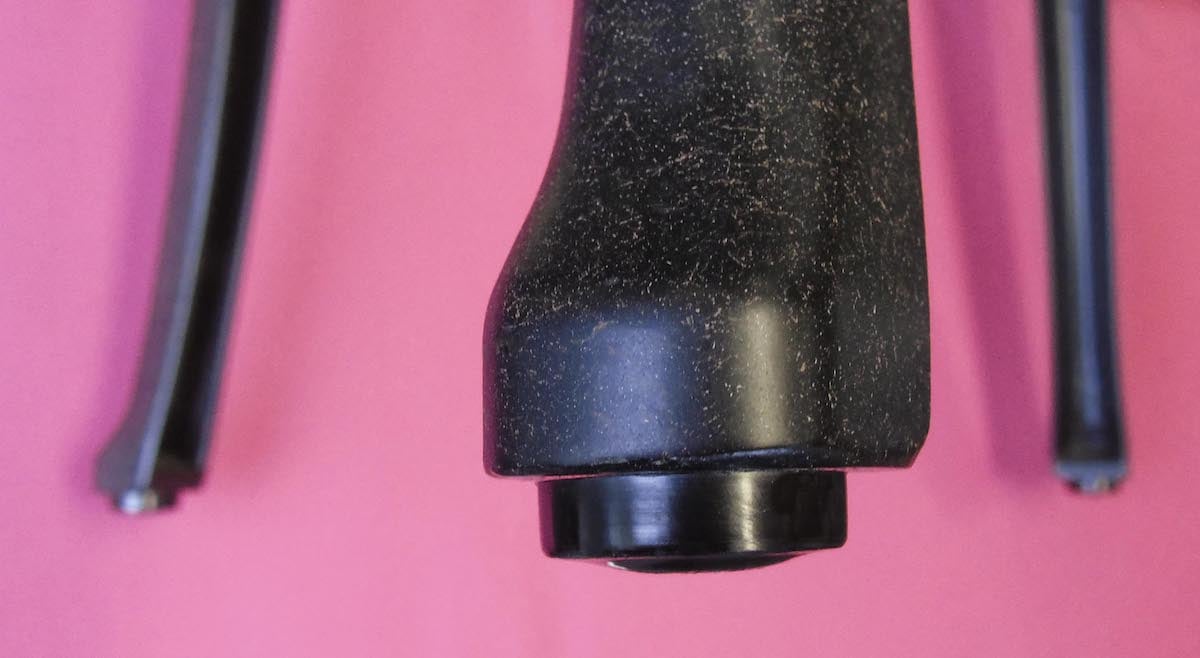
Once the table and chairs are assembled, screw in the supplied foot pads (shown in the photo above).
Flip both over and check that they are stable and level. You may need to adjust the screw-in feet pads a little to get each piece level if your patio surface is uneven.
7. Give the furniture a final check
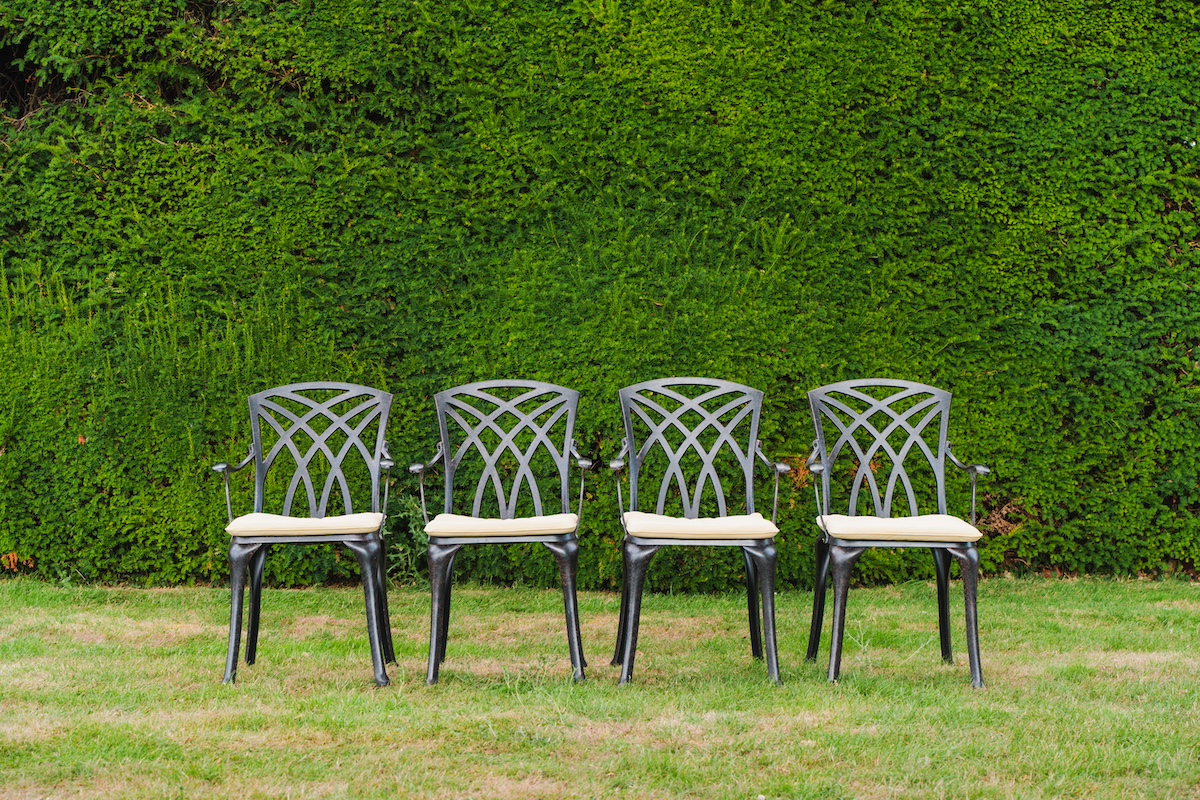
Inspect the furniture and check that all bolts are tight and that all caps are fitted. Tighten them as needed to ensure the furniture is safe to use.
8. Get the furniture ready to use
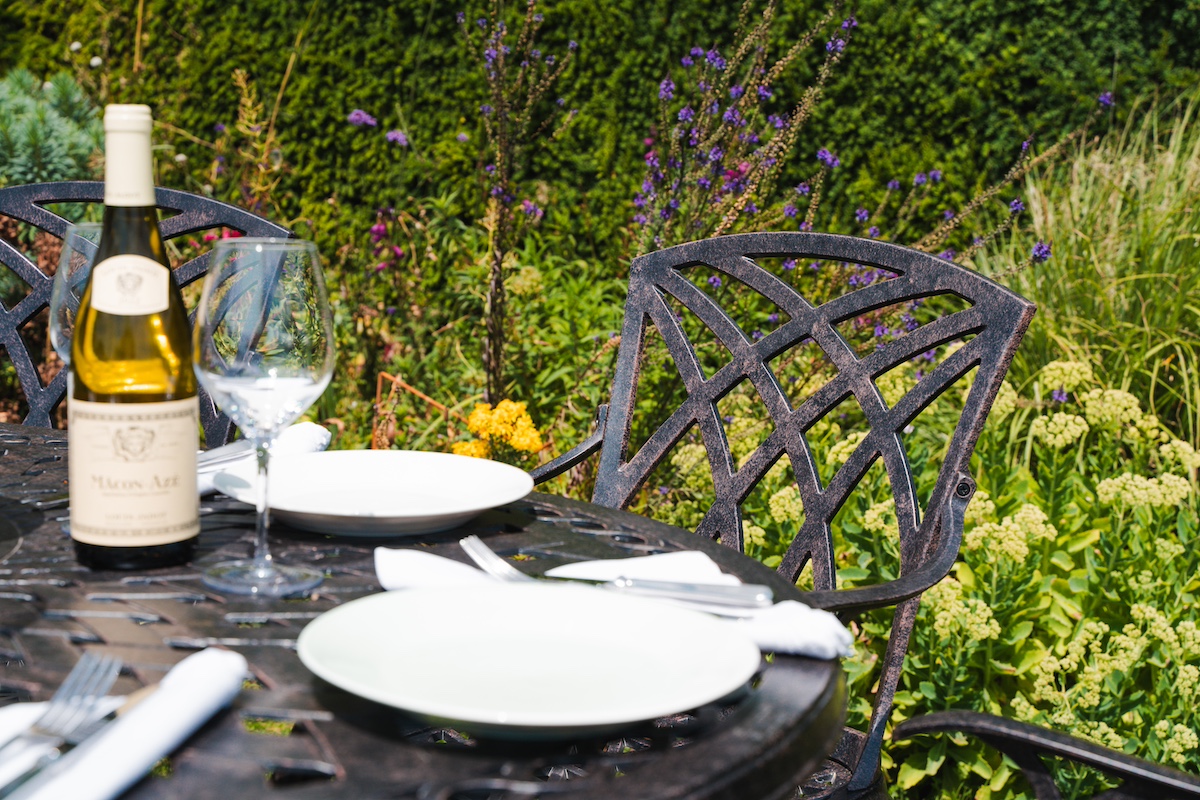
If need be, give the furniture a quick wipe with a damp cloth and leave it to dry in the sun.
It is not essential but we like to apply a light coat of a carnauba-style car wax with a soft dry microfibre cloth. This gives the paint a nice sheen and will help water run off keeping it cleaner for longer.
9. Attach your garden cushions
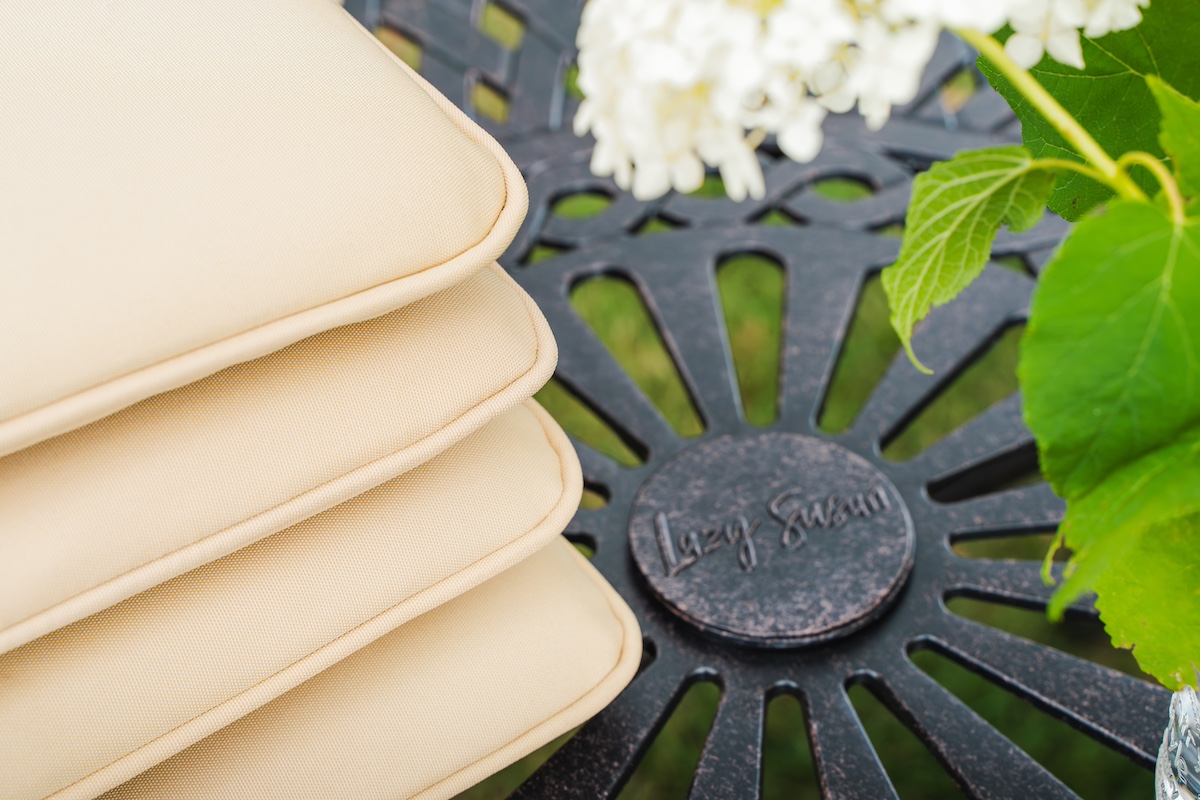
If you purchased our garden cushions, you can attach them to the chairs with the tie fastenings.
Whilst our cushions are made from a quick-drying fabric, always store them indoors when not in use.
10. Setup your parasol and base
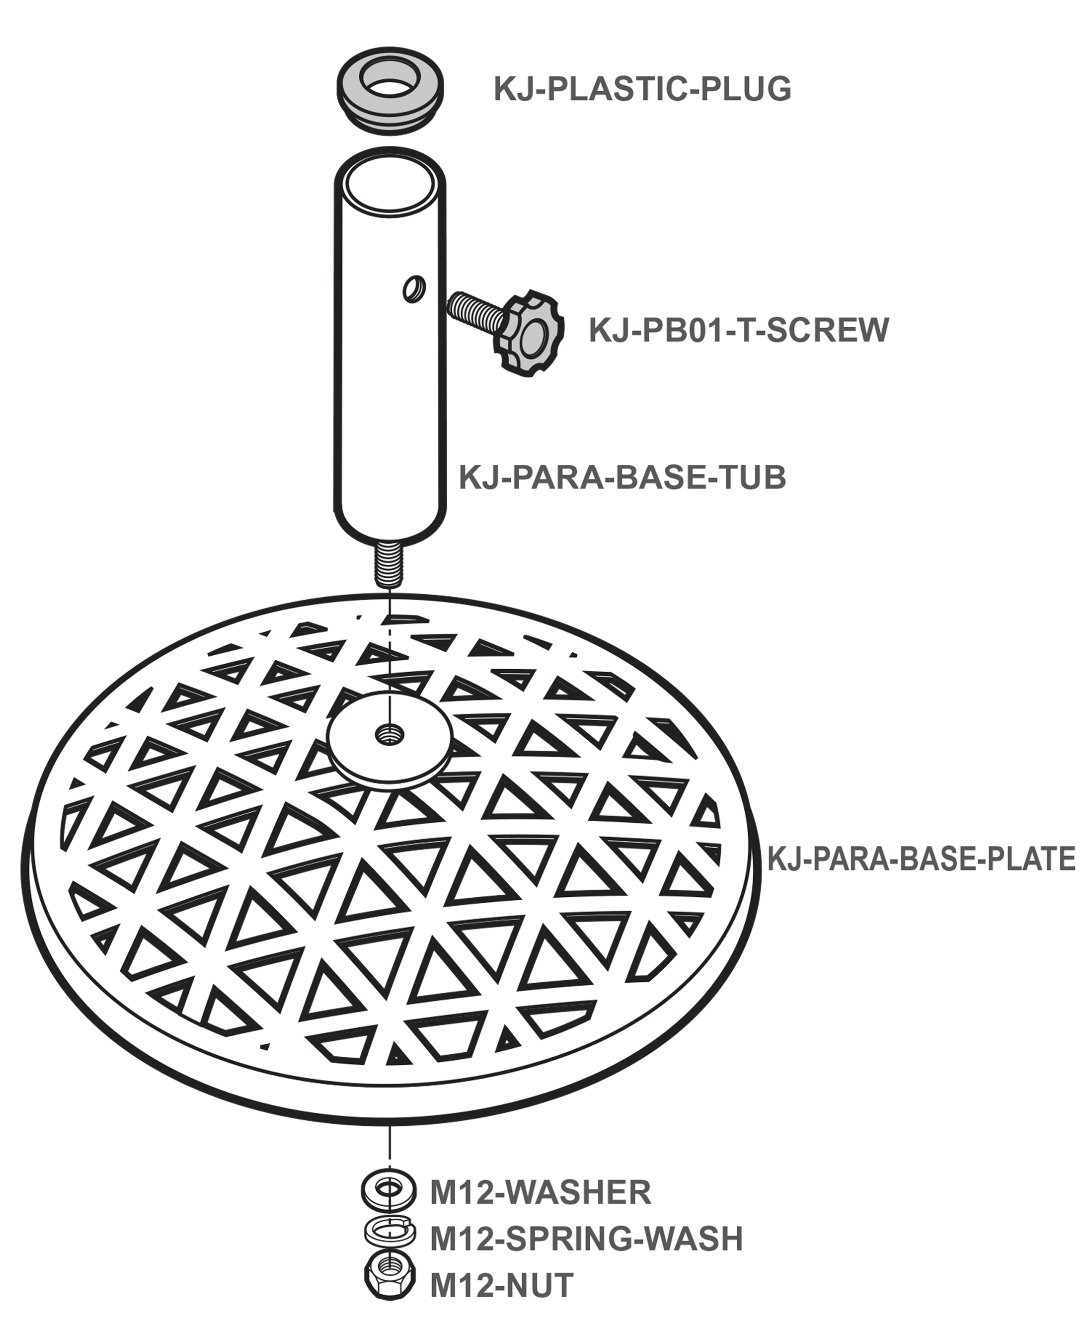
If you ordered a parasol and base, to set up start by screwing the base tub into the base plate with the supplied bolt, making sure the fixings are fitted (as shown above).
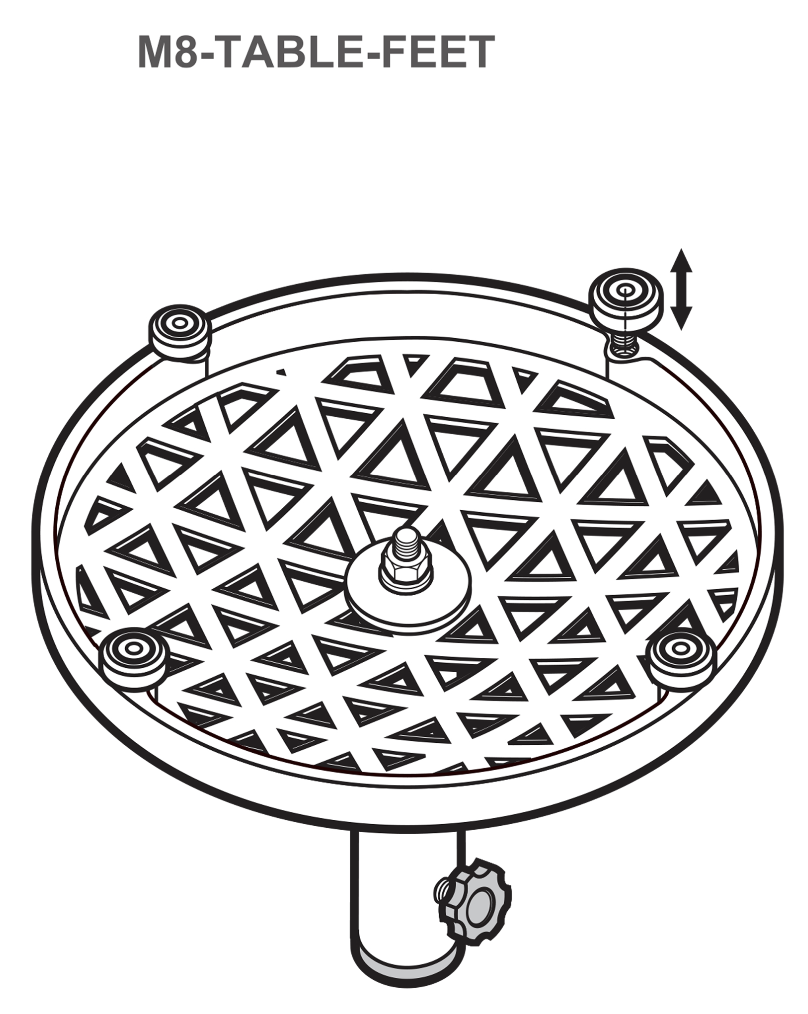
Fix the plastic plug into the top and loosely put in the pole screw leaving enough room to position the pole in the tub. Screw in the base plate feet and as with our feet pads, you have a level of adjustment for uneven patio surfaces.
Position the base under the parasol hole in the centre of your table, and with the parasol umbrella closed, carefully put the pole through the hole into the base below.
Remember that safety is essential when assembling furniture, so be cautious when using tools, and take your time to ensure a sturdy and secure assembly.
If you encounter any difficulties or are unsure about the assembly process, then don't hesitate to contact our customer support team for further assistance or check the product page for the set you purchased to download PDF copies of the assembly instructions.
If you have any photos of your newly assembled Garden Tables and Chairs, then we’d love to see a few for our Do Some Good charity campaign. You can tag us @LazySusanFurniture on Instagram or Facebook or Upload Here.


