We tend to mention the touch-up of paint chips and scratches on metal garden furniture in most of the cleaning and maintenance articles we publish, and we often partner that with a link to our How to repair paint chips on Cast Aluminium Garden Furniture video on YouTube:
However, it just occurred to the team that we don’t have a dedicated article on the subject, so we thought it would be nice to remedy that this month.
Produce a detailed how-to that should be a little easier to follow than the video and share a few more tips and pointers on how to get a good finish.
First, we should stress that scratches and paint chips are rare on metal garden furniture. Our pieces are all sprayed with a durable painted finish that protects the cast aluminium from the elements.
Cast aluminium itself is a perfect metal for outdoor use as it does not rust. Over time, if the raw metal is left exposed to the elements, it would oxidise.
That layer of oxide (white and chalky to the touch) will act as a barrier to protect the metal from further damage and prevent it from corroding as iron would.
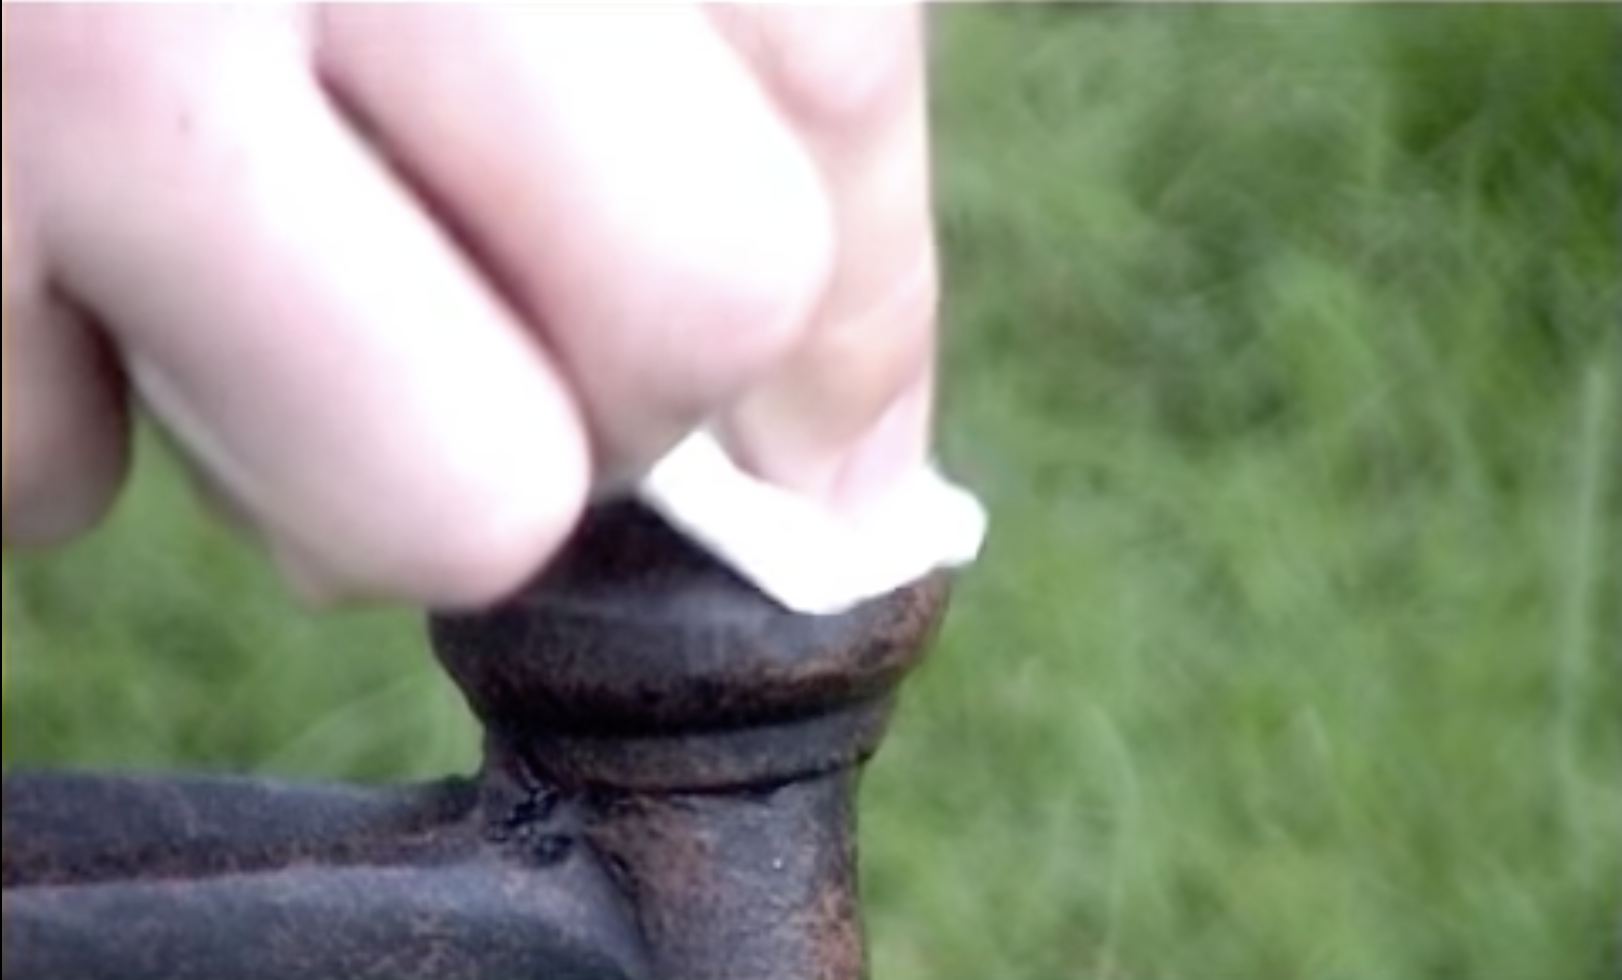
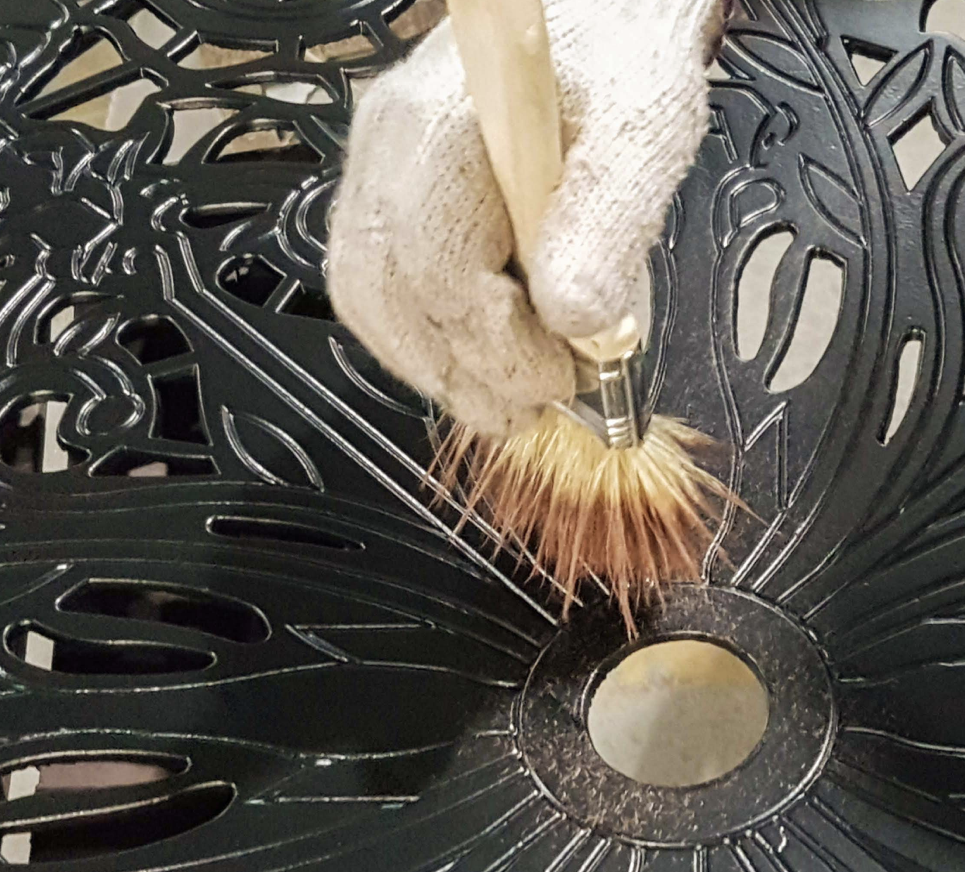
The painted finish we apply (shown above in the close-up of our Amy Table with Rose Chairs) prevents it from oxidising, which is not the best look.
However, the problems can start if you do get a chip or scratch and leave it. Moisture could get underneath and compromise the paintwork.
Fortunately, touching them up is super simple and you’ll not even notice it when done.
One of the most common areas is on the feet of chairs if they are placed on a rough stone patio.
All that sliding in and out could cause a chip, so every now and again, flip them over, and touch them up if needed.
How our metal garden furniture is made
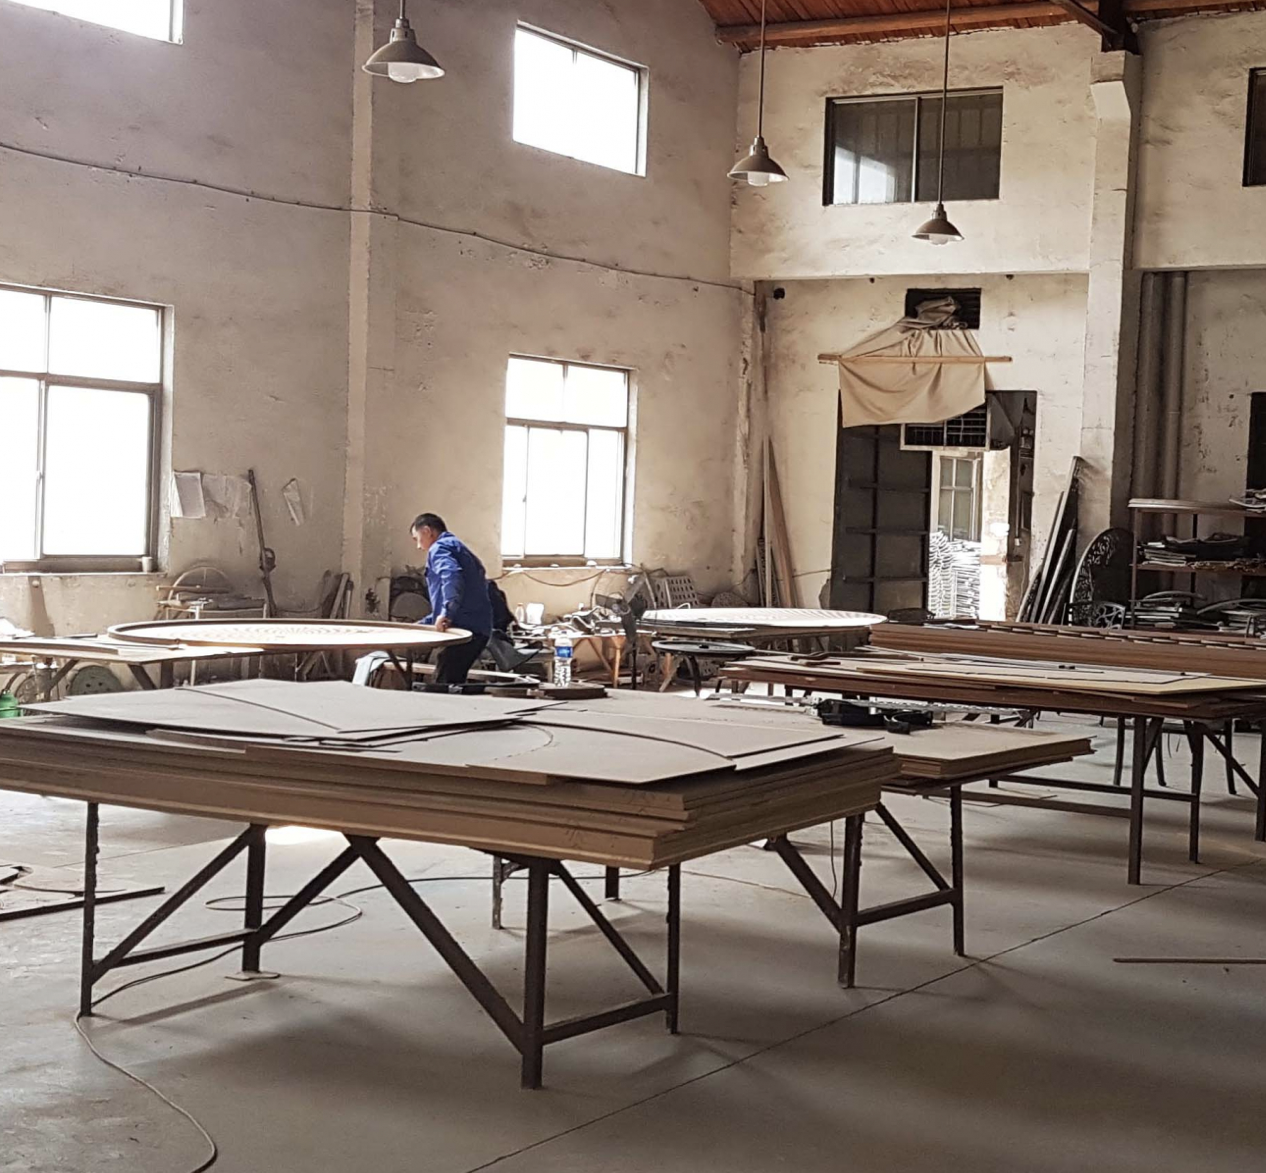
Just like the classic design styling across our collection, the traditional sand casting process we use has long been in use to forge molten metals.
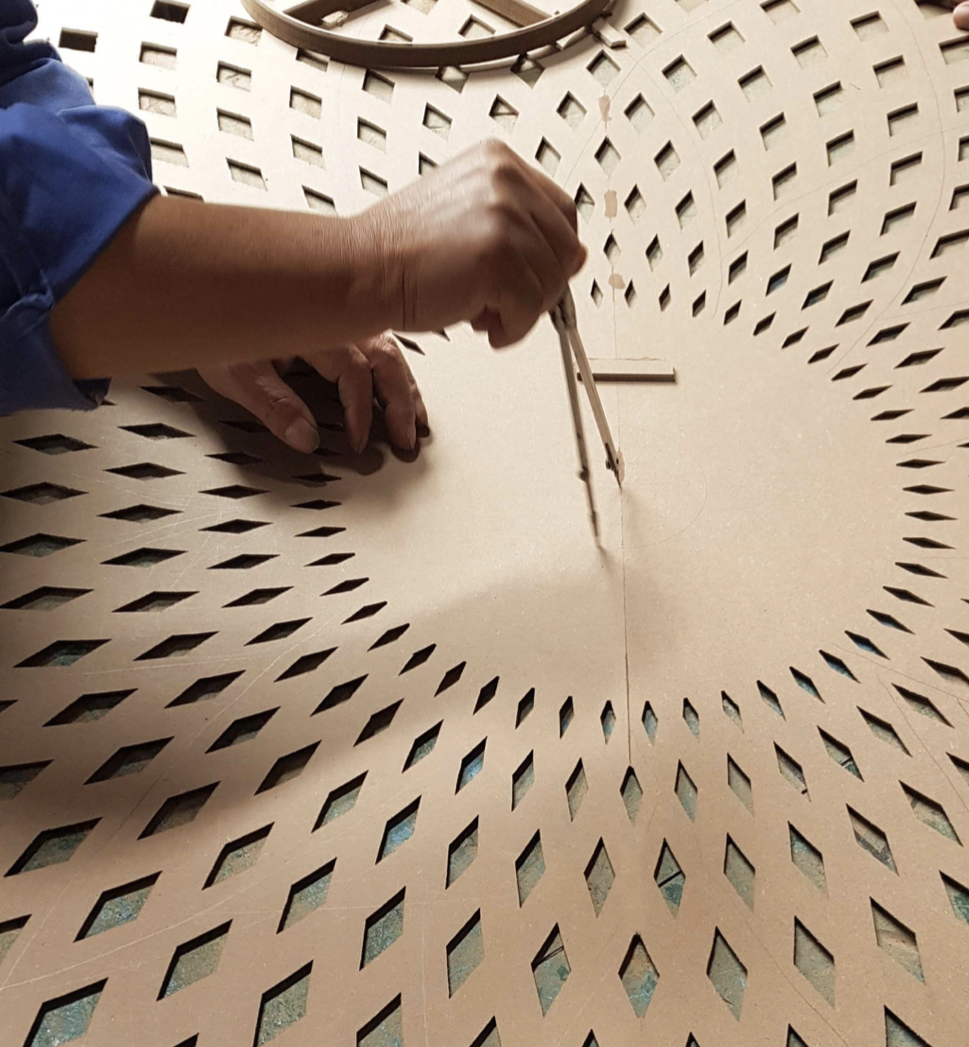
Sand casting is an ancient moulding method that can be traced back as far as 4000 BC
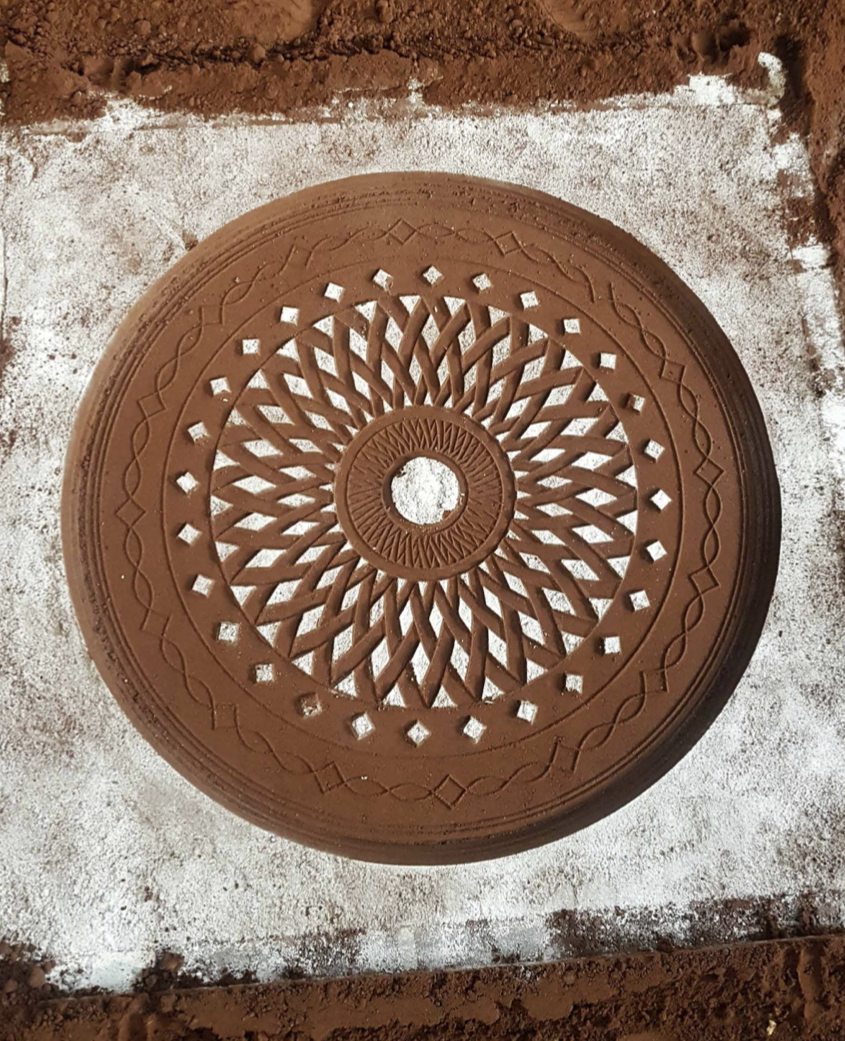
The process starts by creating wooden moulds, throwing them into the sand and pouring the melted raw aluminium to form the cast pieces.
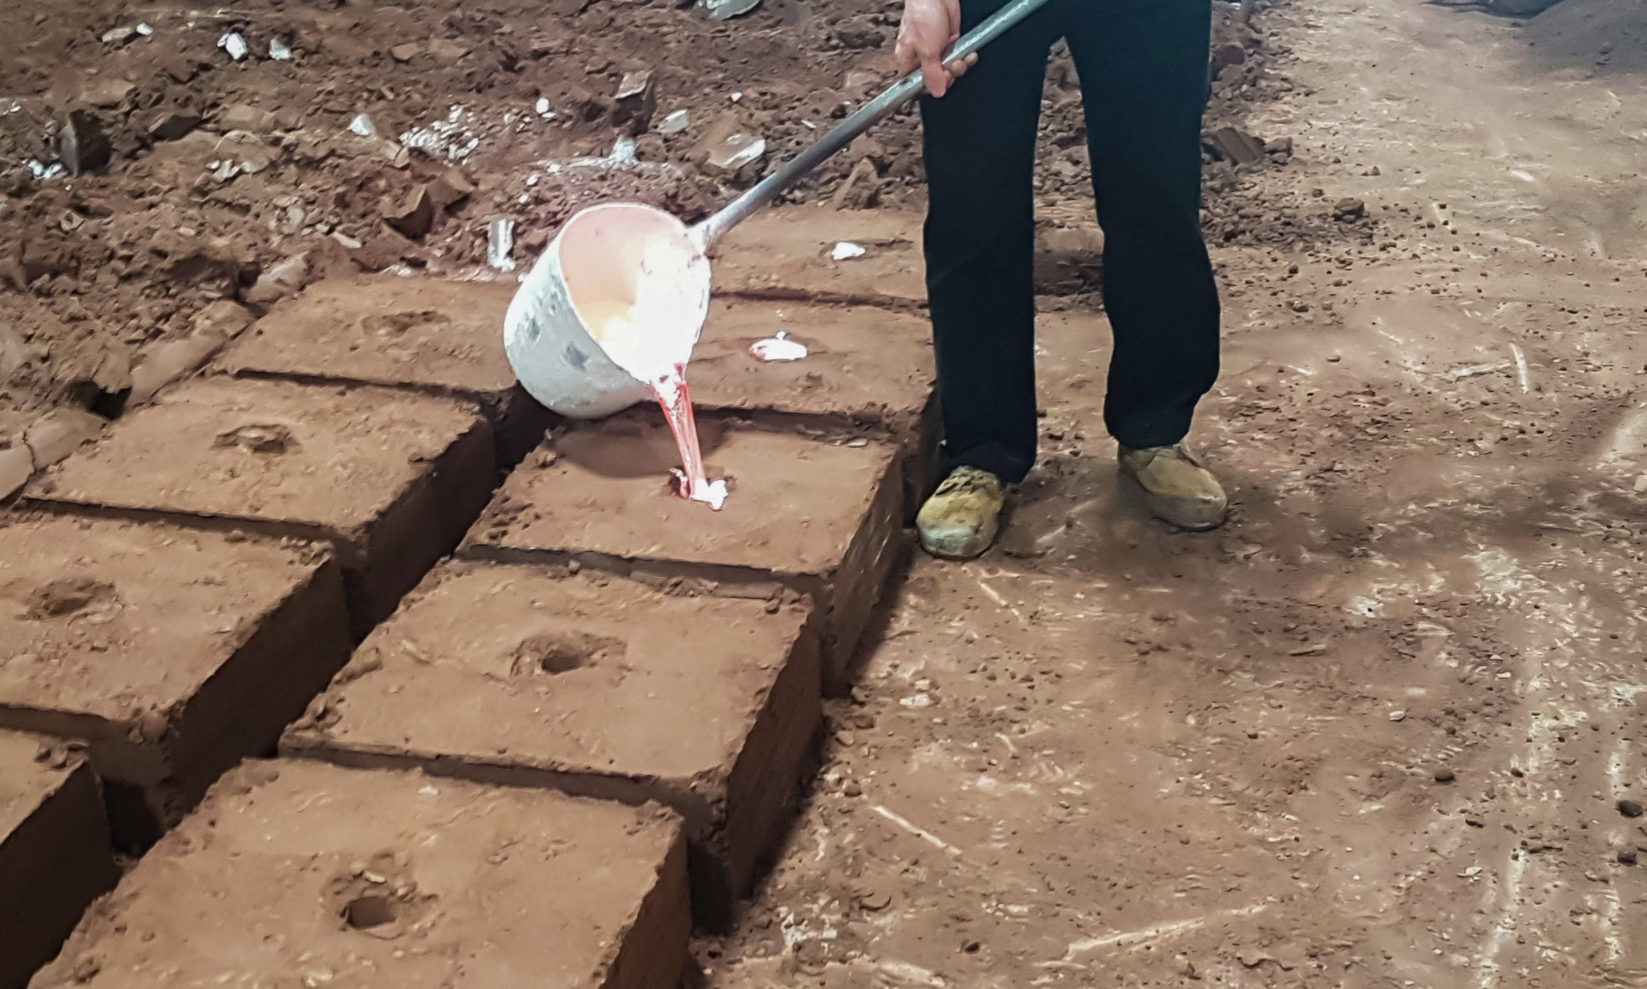
Once set, the material is removed and the details are carved, creating a mould for each part of our furniture.
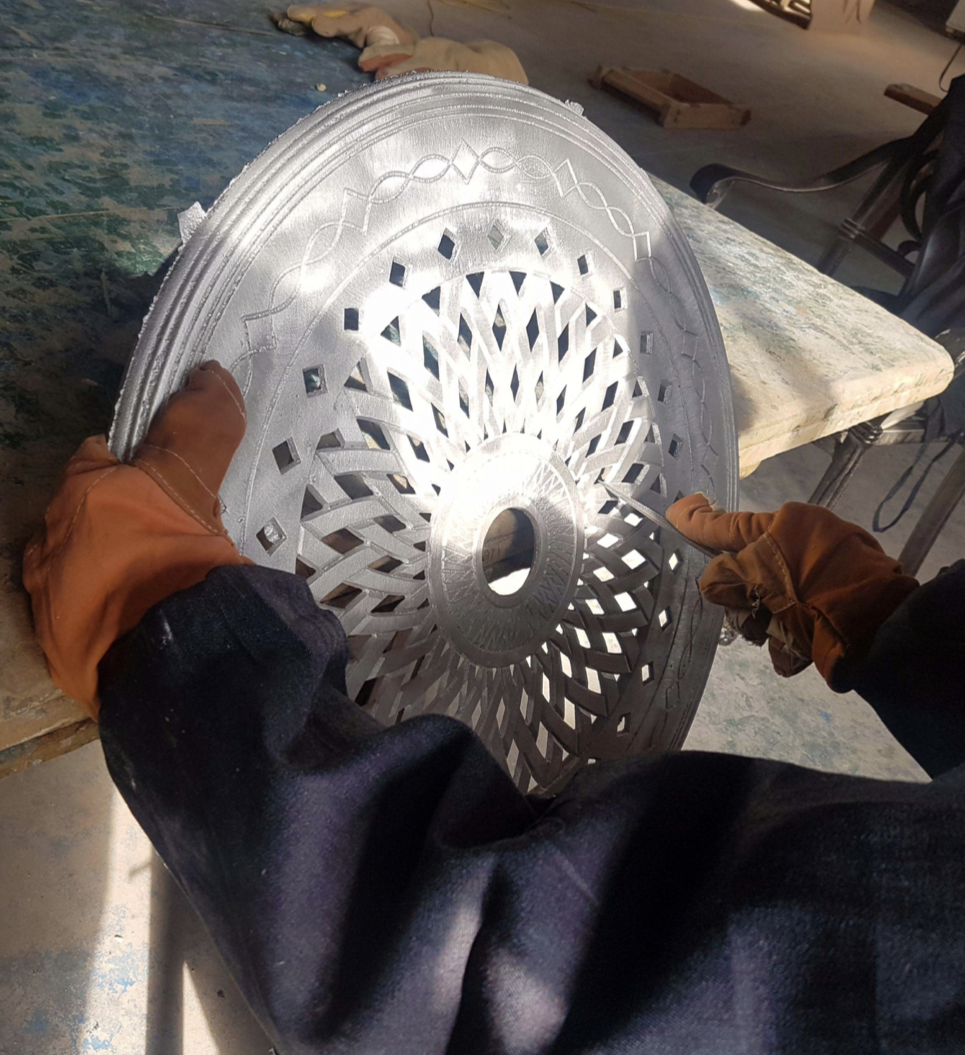
The sand casting process is repeated with these moulds and the parts are harvested.
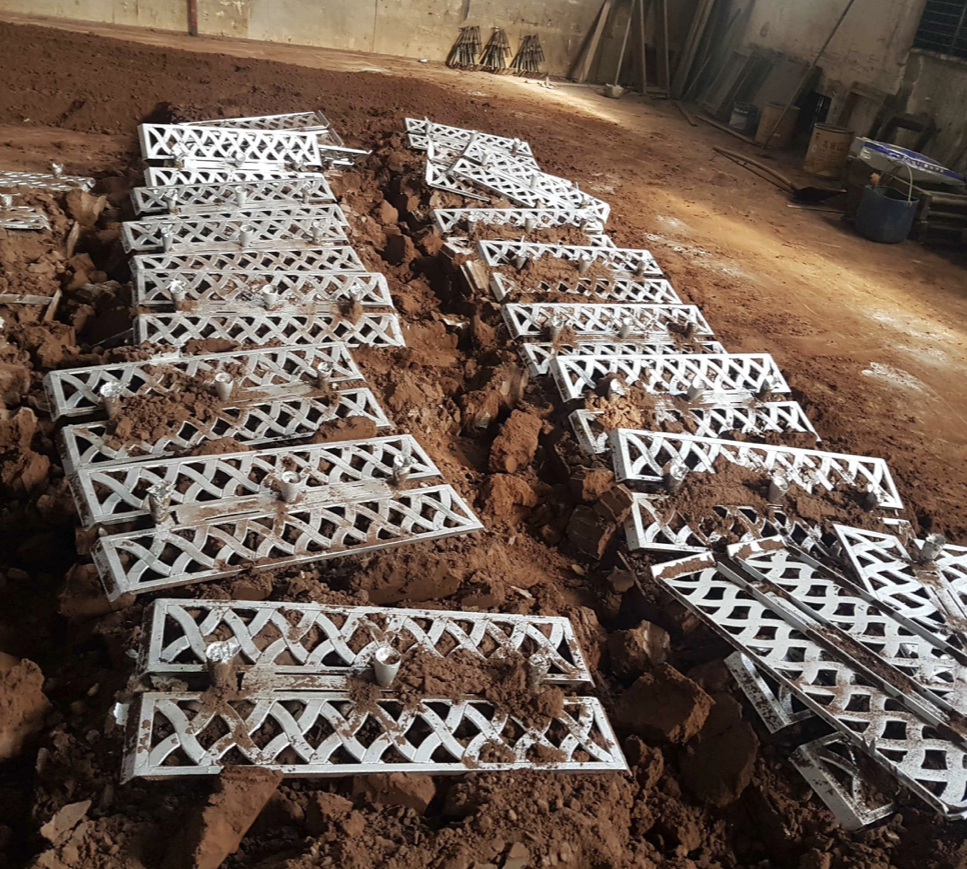
Finally, they travel through our workshops to be cleaned, polished, powder coated with our durable finishes, detailed and QC checked.
You can find more information about why we chose cast aluminium as the core material for our collection and how it is made in our why buy a garden furniture set from Lazy Susan article.
How to touch up the paintwork on our metal garden furniture
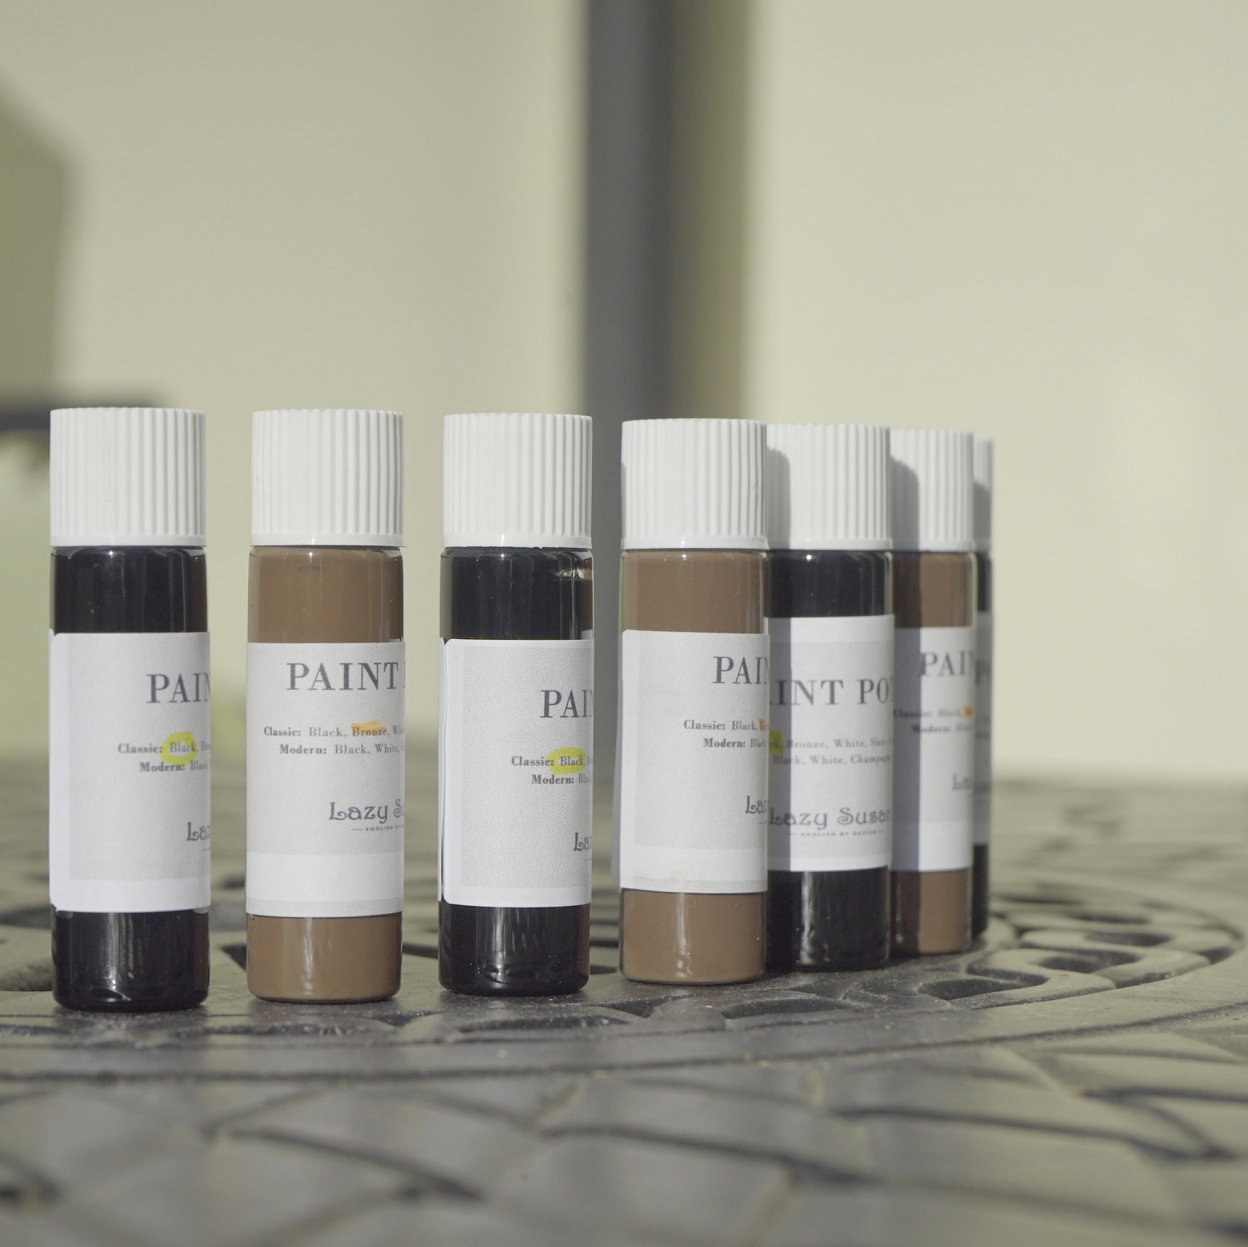
The first thing you need to tackle this job is our touch-up paint (pictured above) and they are available to purchase in the Lazy Susan Shop.
The kits are available in our Antique Bronze, Slate Grey and White paint finish for only £12.95 for a 10ml bottle.
Our Antique Bronze paint is a two-stage finish, so you get the black base coat and a bronze top finish. The white and grey are single-stage, so one colour only is required.
The touch-up kits are specially formulated to match your furniture and leave a tough durable finish. Each pot is supplied with a built-in applicator brush in the screw top lid, similar to what you’d find in a pot of nail polish.
In terms of the repair process, we will talk you through the application of our Antique Bronze touch-up paint. The Slate Grey and White are applied in exactly the same way but just one colour is required.
All you need to repair a chip or scratch is:
- Lazy Susan Touch-up Paint
- Kitchen Roll
- Clean Cloths
- Bucket of Soapy Water
- Car Wax (optional)
Step 1: Clean the area you want to paint
The first step is to make sure the area you want to repair is clean and free from any dirt or debris.
Just give it a wipe with a damp cloth soaked in warm water and a little washing-up liquid. Pat it dry with a sheet of kitchen roll or leave it in the sun for 5 minutes or so.
Step 2: Carefully apply the black paint
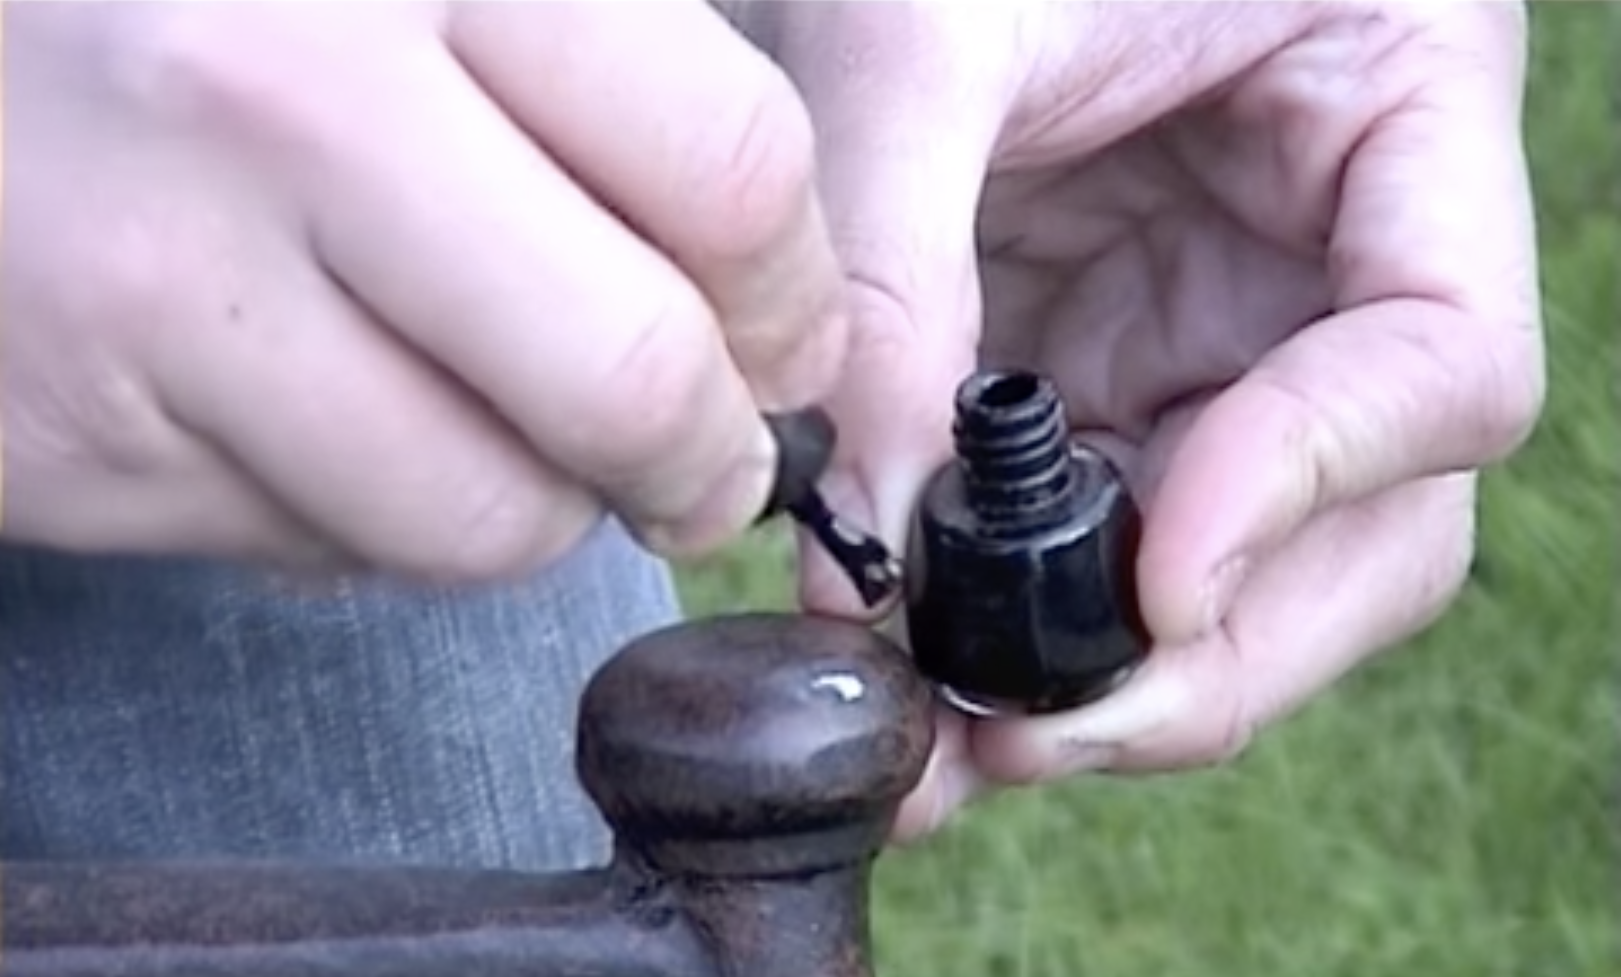
Once clean and fully dry, apply a small amount of the black base paint with the applicator brush.
Step 3: Dab with kitchen roll to remove excess paint and leave to dry
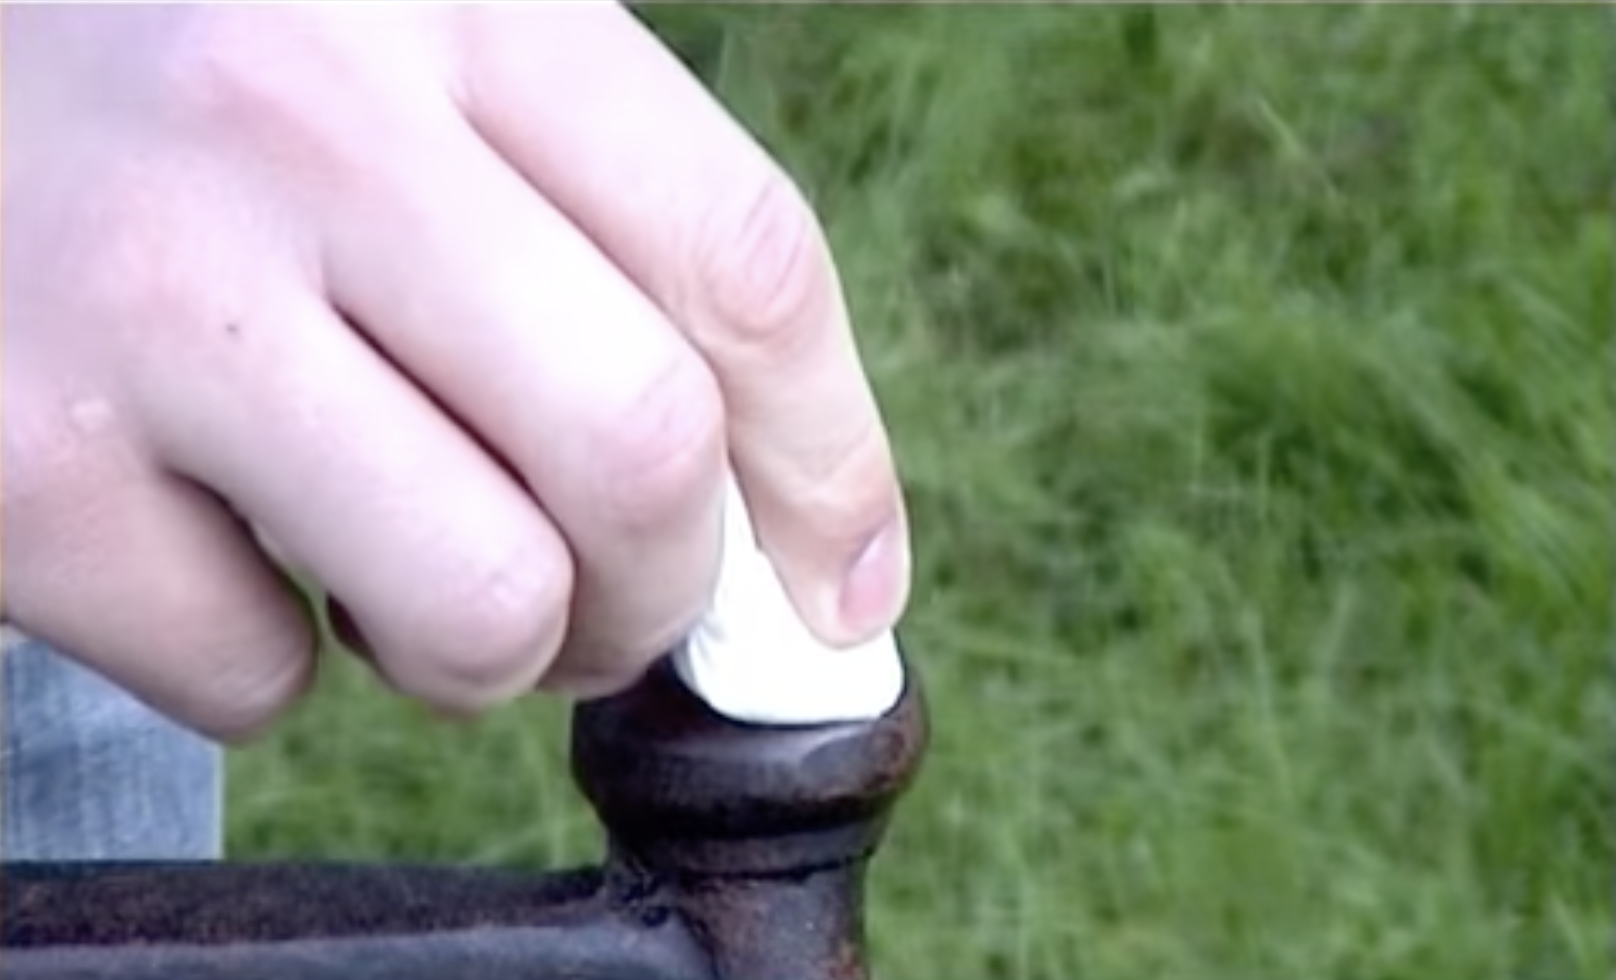
Remove any excess paint with a sheet of kitchen roll. The best results are achieved, if you build the paint up in 2 or 3 layers, rather than applying one large blob of paint and leaving it to dry.
Step 4: Carefully dab on bronze paint
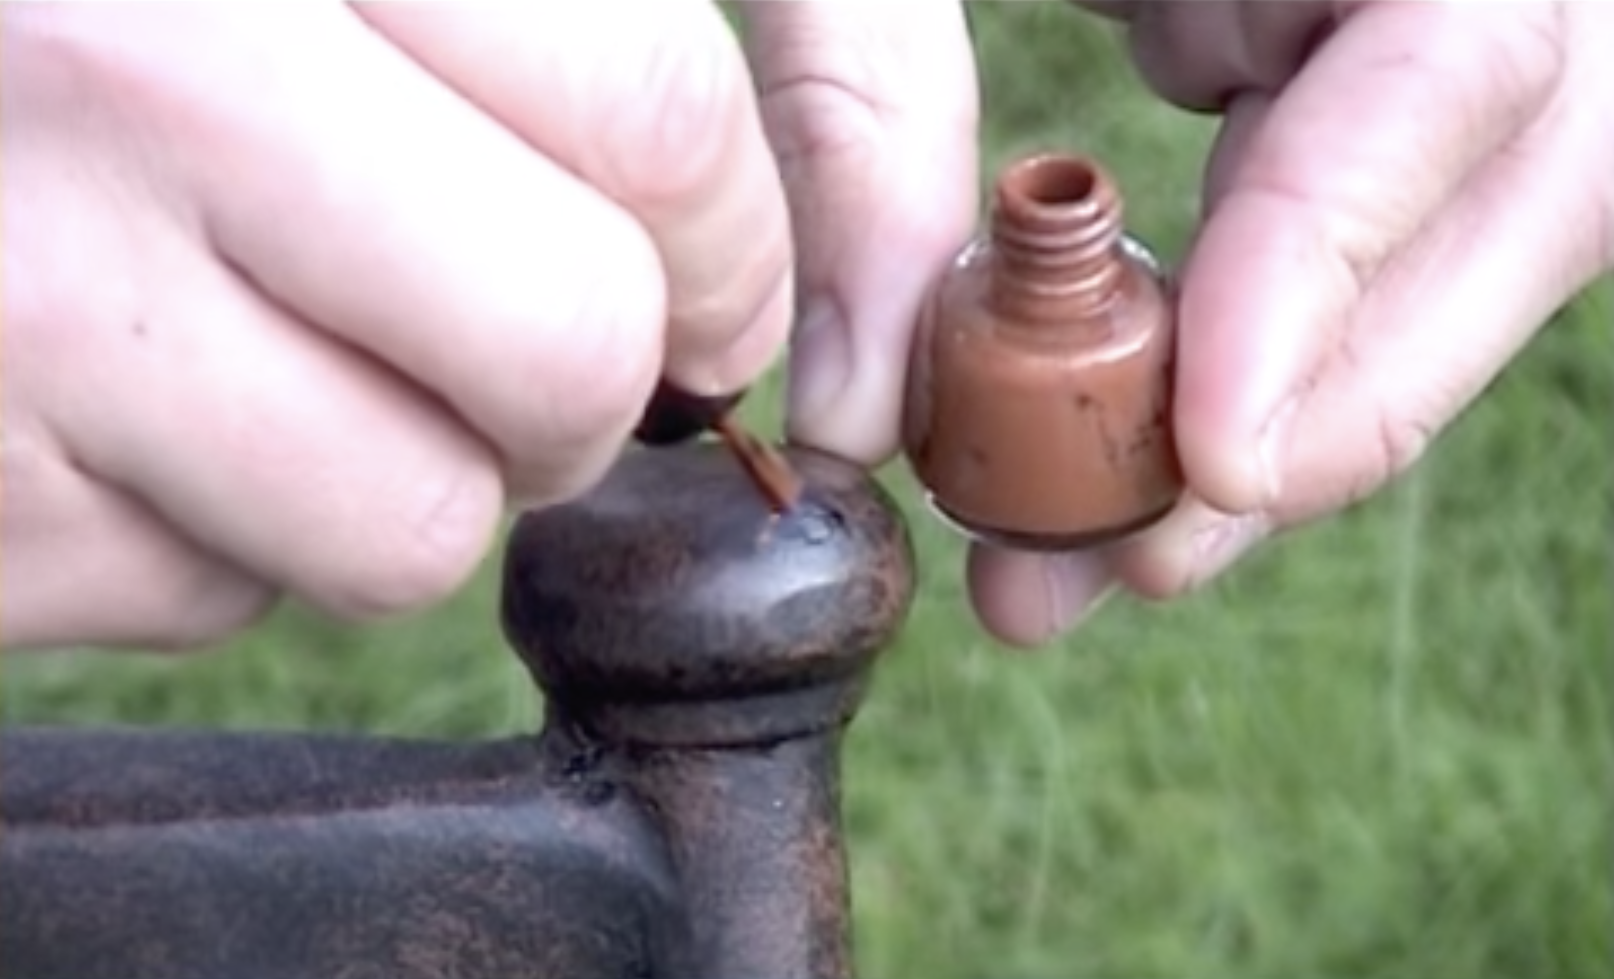
When you are happy with the coverage of the base layer, it is level with the surrounding paintwork and is dry to the touch, you can carefully dab on a small amount of the bronze paint.
Step 5: Remove excess paint with a sheet of kitchen roll and leave to dry
Again, with a sheet of clean kitchen roll, carefully dab the bronze paint to create the stippled effect of our Antique Bronze finish.
Step 6: Repeat as necessary until the desired finish is achieved
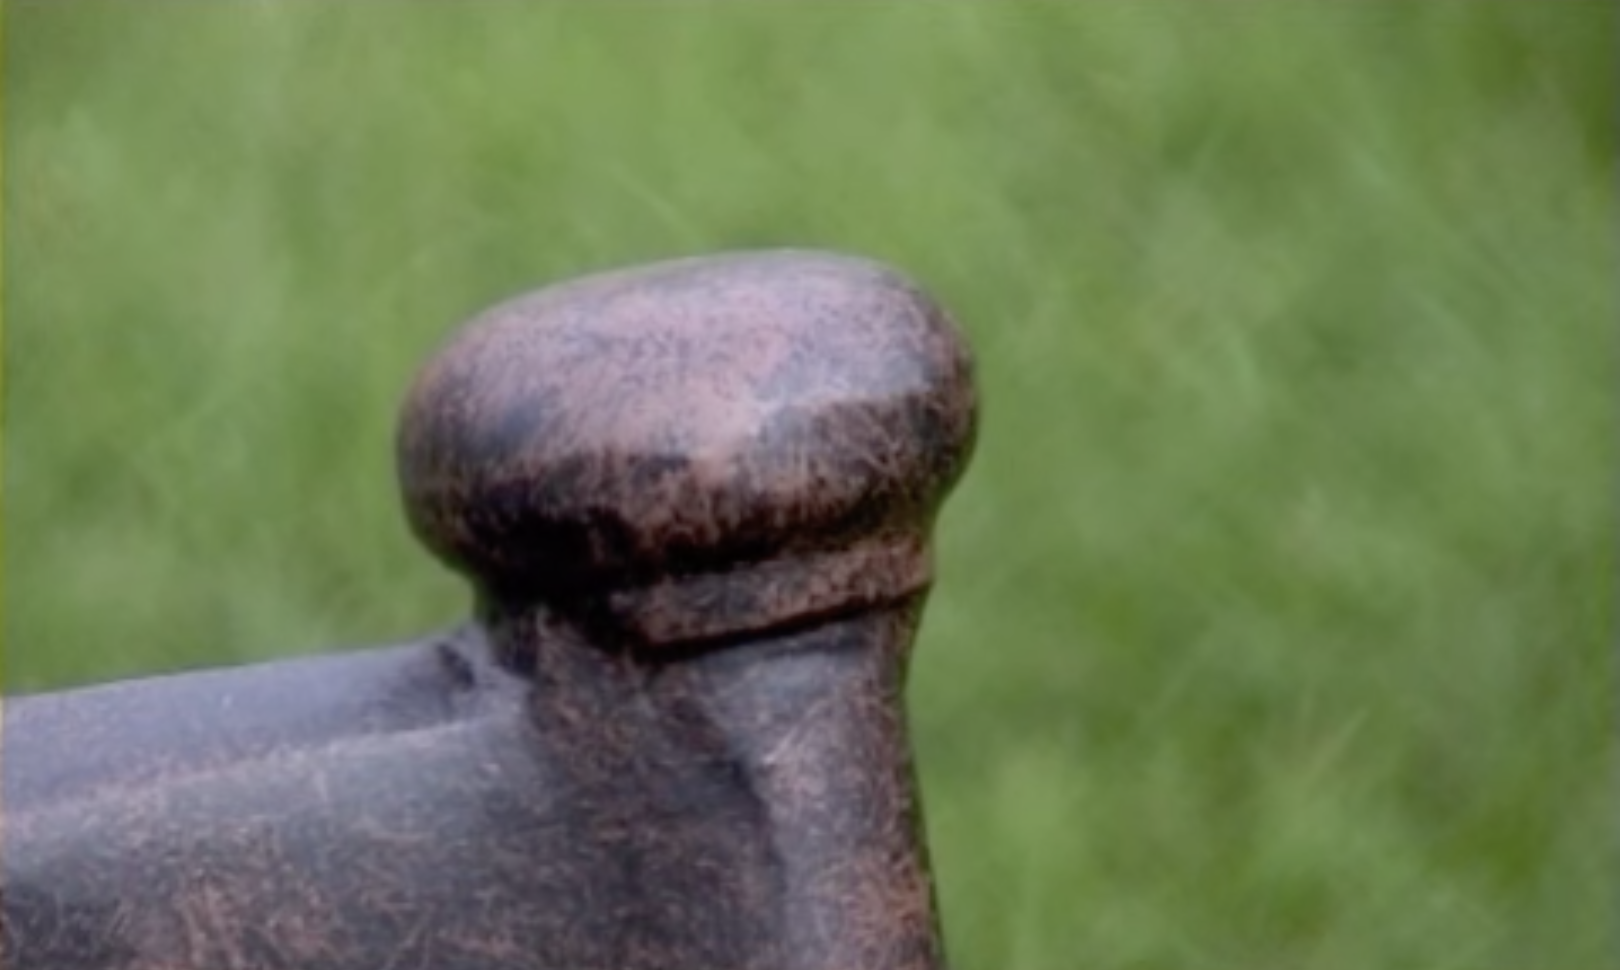
Repeat the process until you are happy with the finish and the paint chip or scratch is no longer visible. Leave it to dry fully for a couple of hours before use.
Step 7: Apply a coat of car wax to protect
To provide a little extra protection, apply a light coat of carnauba-style car wax with a soft lint-free cloth.
To find out more about how to apply, why we recommend a light coat of car wax and some of our favourite products, please read our how to apply car wax to metal garden furniture article.
If you’ve got any photos of your Lazy Susan garden furniture in situ, then we’d also love to see a few snaps for our Do Some Good charity campaign.
You can tag us @LazySusanFurniture on Instagram or Facebook or email them to us at [email protected].


