

The weather has been a little up and down lately but we have had a couple of mild weekends in late Feb where the sun has even made an appearance. One of the Lazy Susan team even had the opportunity to build a new garden shed in a t-shirt!
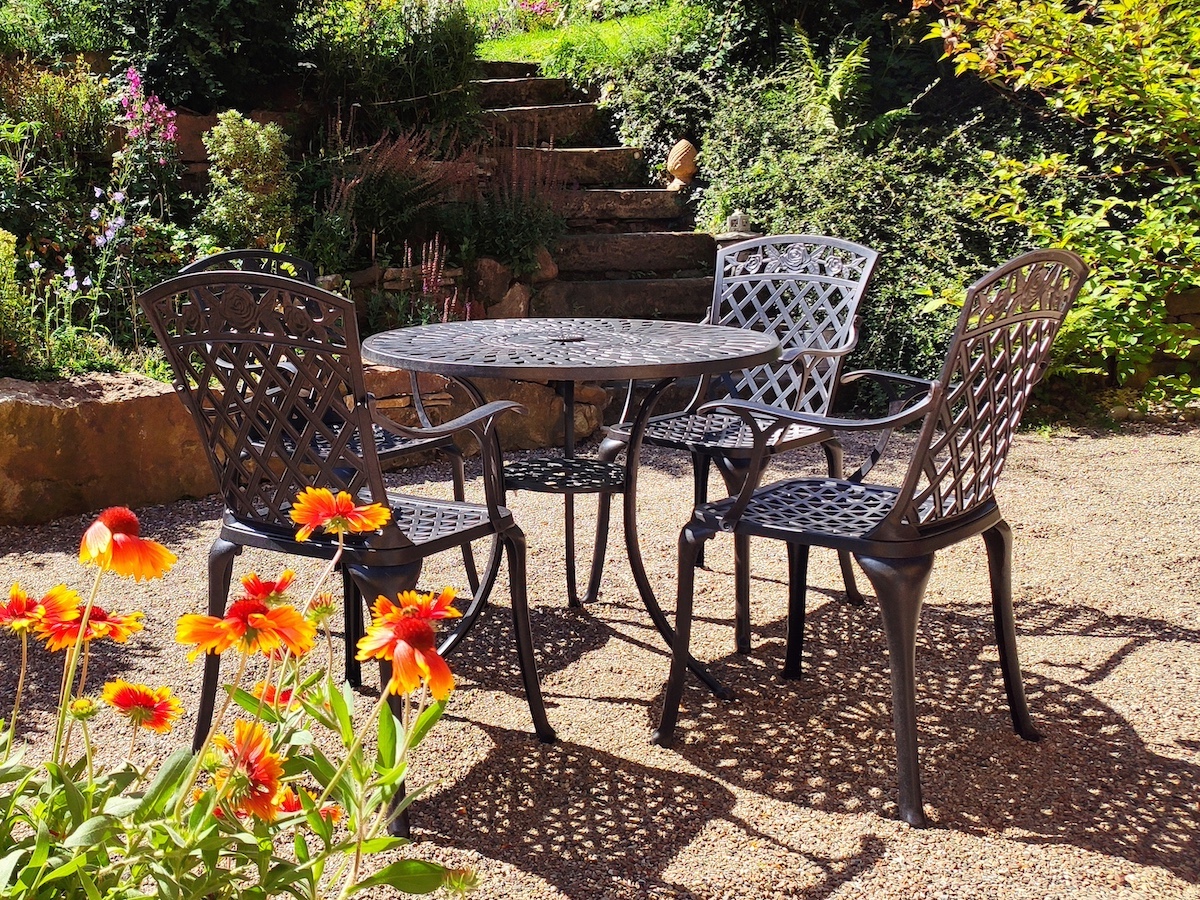
The days are getting longer though, Easter is coming up and spring is on the horizon. It is the perfect time of year to start thinking about any jobs you want to tackle in the garden, and the best way to kick things off is to give our patios a thorough spring clean.
A patio spring clean will revitalise our outdoor spaces, clear up the mess left over from autumn/winter, and prepare them for the warmer summer months that are (hopefully) ahead.
This is the Lazy Susan 12-step guide to helping you tackle a full patio spring clean effectively and efficiently:
1. De-Clutter
Start by removing any clutter from your patio, including any old furniture, broken pots, dead plants, and debris. Dispose of items that are no longer usable and organise the remaining items.
The aim is to create a more usable "free" space and make your patio more inviting and enjoyable for socialising and comfortable for relaxing.
Fewer items on your patio also means there is less to clean and maintain and it makes the job much easier. You'll spend less time navigating around obstacles and more time getting the space sprung and ready for summer.
By de-cluttering your patio in springtime, you’re also establishing a good routine and preventing the gradual accumulation of clutter throughout the summer months (when you want to be using the space).
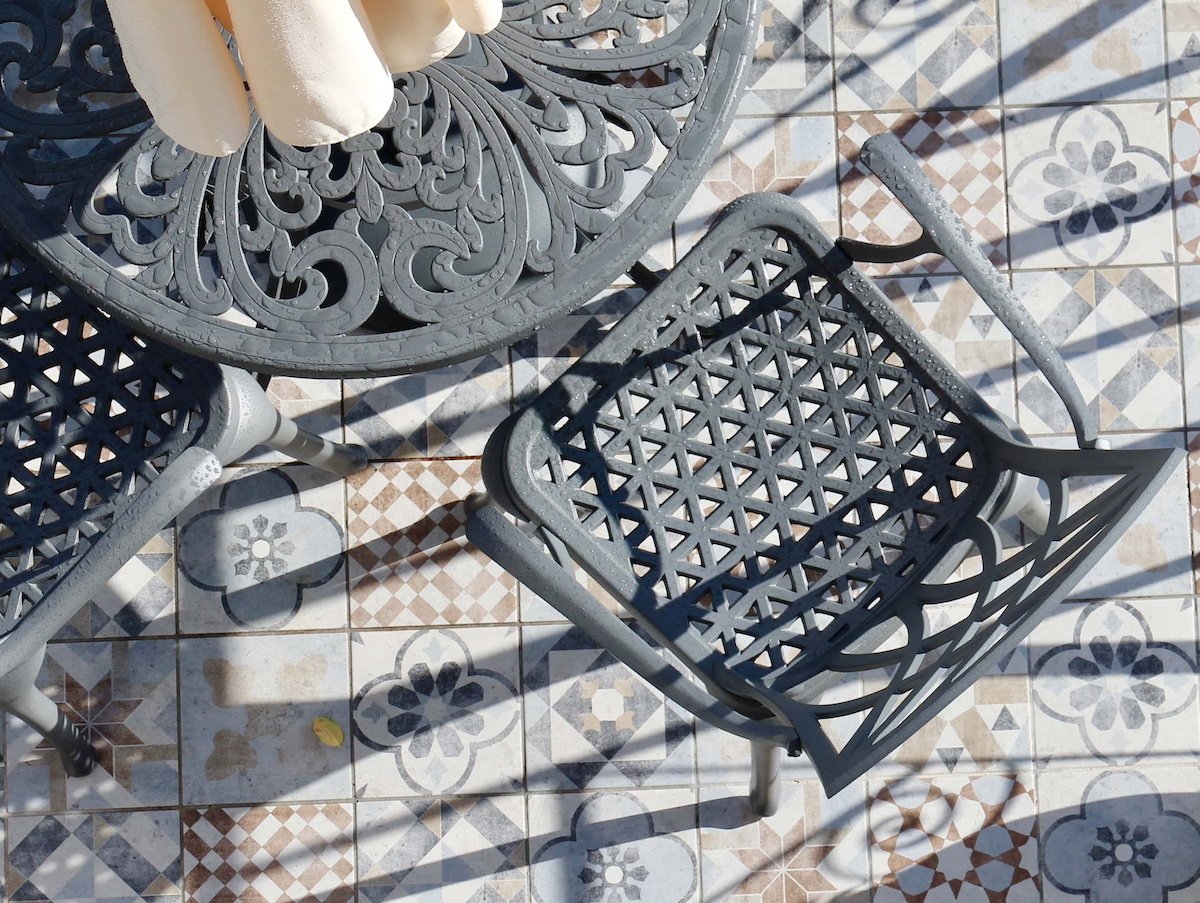
2. Sweep Up
Once you’ve de-cluttered, give the patio a good sweep-up to remove all dirt, leaves, and debris that have built up over the autumn/winter, paying close attention to any corners, etc
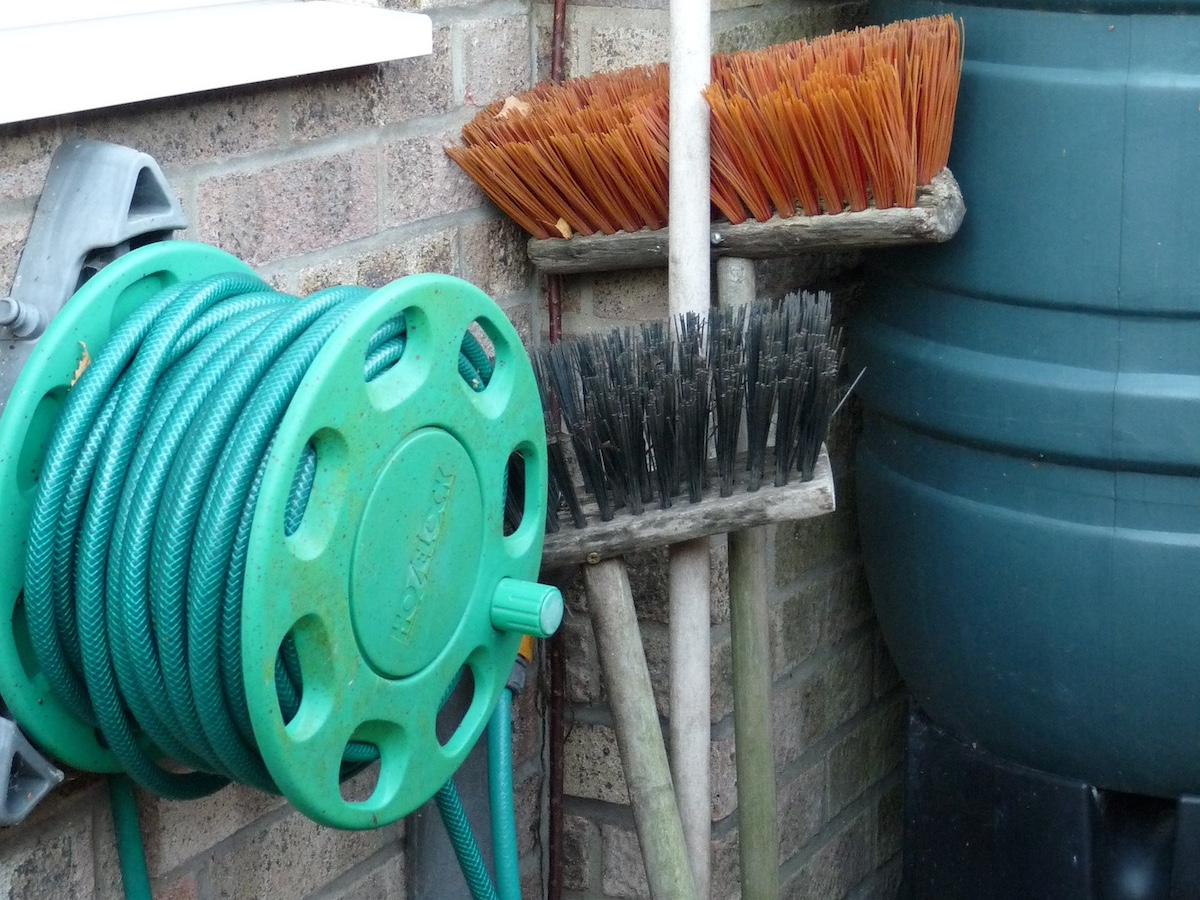
For lighter debris such as leaves, dust, etc), our go-to is just a simple soft-bristle push broom and dustpan and brush set.
For heavier debris like sticks, twigs, etc, then we might use a plastic-tine rake to pull it into piles before sweeping with a broom. However, this will very much depend on the patio surface.
A Leaf blower is a great investment for this job and they’re a quick and efficient way of removing larger quantities of leaves and other lightweight debris, especially from larger patios/gardens.
3. Pressure Wash
For any tougher stains such as bird droppings, tree sap or accumulated grime, you might need to introduce water, and depending on the patio surface, we would suggest using a power washer to deep clean and remove any unsightly algae and lichen.
Just be sure to use the correct attachment and adjust the pressure settings as needed to avoid damaging your patio.
Knowing your patio material (concrete, pavers, decking, etc) is crucial in choosing the appropriate cleaning solution and pressure settings on the washer.
If you are unsure, start on the lowest setting and test on an inconspicuous area to determine the appropriate pressure without risking damage to the main patio surface.
A fan nozzle or deck cleaning attachment are the best options as they provide wider coverage and reduce the risk of damaging the patio compared to a jet nozzle.
While pressure washers are effective, they do need to be used with caution as they can damage the surface of your patio, especially on timber decking where it can strip the finish.
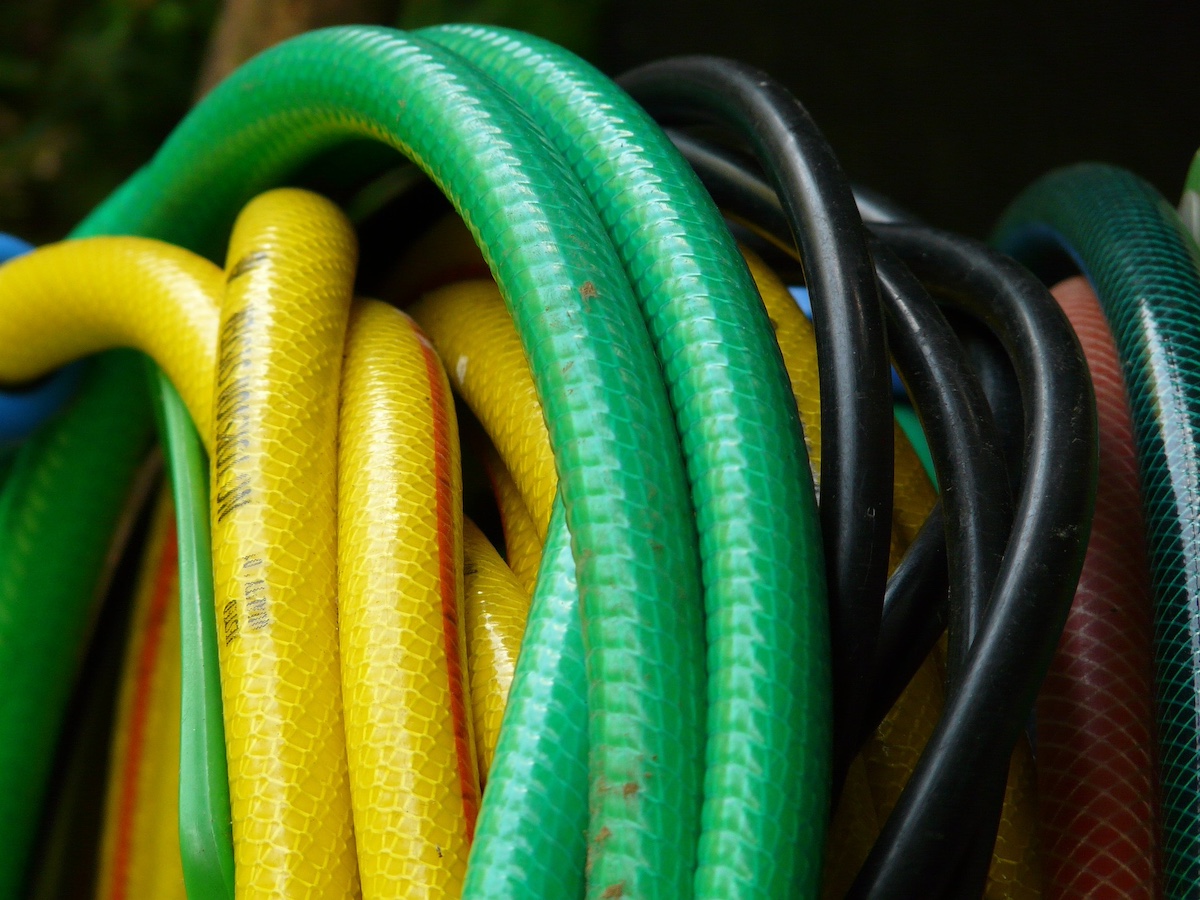
If unsure, just stick to a garden hose, a suitable cleaning solution and a brush with plenty of elbow grease. Our How to clean your paved patio or timber decking article has some great cleaning tips, products and methods that we use.
4. Clean Outdoor Furniture

A spring clean is also the perfect time to give your garden furniture a good clean and get it ready to use, especially if it has been left outside during the off-season.
We would not advise you to use a pressure washer. A bucket of warm soapy water (car shampoo is our preference for cast aluminium garden furniture) and a garden hose to rinse (followed by a light coat of car wax when dry) will suffice.
This is a subject that is well covered on our blog and our How to clean your outdoor furniture article has all the info you need.
5. Wash Outdoor Fabrics
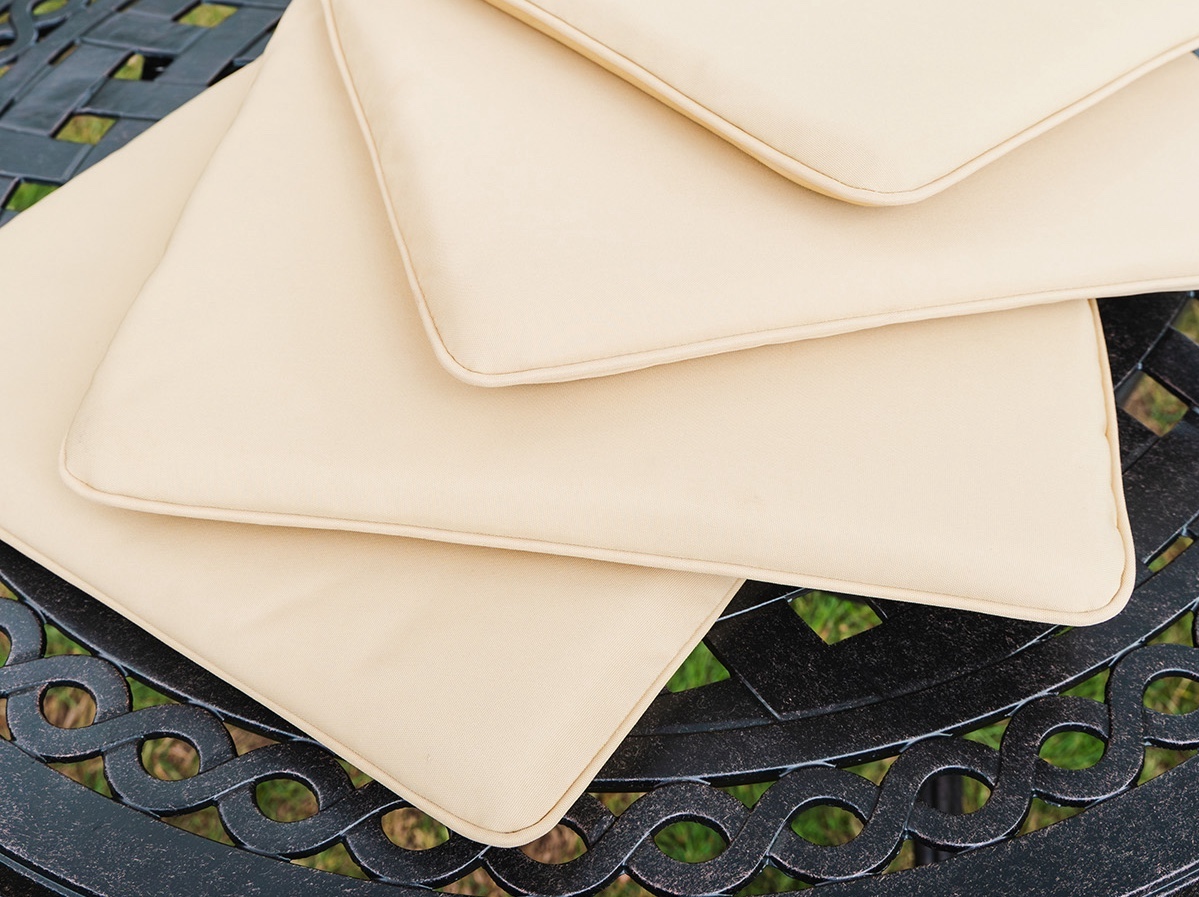
If your patio furniture cushions and pillows have removable covers like ours, then you can wash them. Just be careful and follow the washing instructions found on the label.
For non-removable cushions or just a quick pre-summer spruce up when you get them out of storage, you can spot clean with a damp cloth and allow them to air dry completely before placing them back on your garden chairs.
This is another subject that is well catered for on our blog and our How to clean your parasol and awning and How to clean outdoor furniture chair cushions articles have all you need for the fabrics found in our collection.
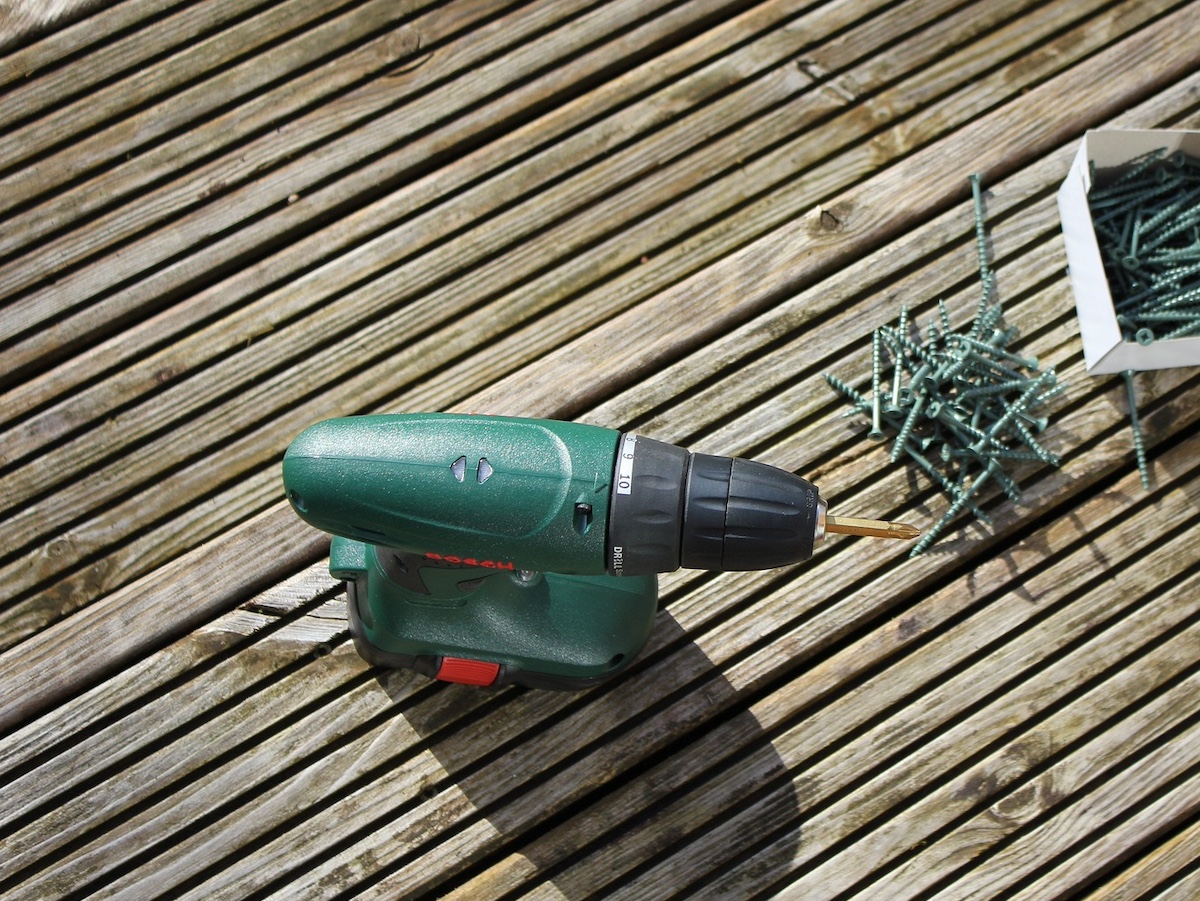
6. Inspect & Repair
Now is the perfect time to inspect your patio surface, garden furniture, parasols, and other outdoor accessories for any signs of wear and tear. It gives us a good few months or so until summer proper to repair or replace any broken or damaged items.
If you have any missing parts or you need to touch up any chips or scratches on our furniture, then you should find them in the Spare Parts section of our shop.
Our How to touch up paint chips and scratches on metal garden furniture article takes a look at the simple repair process, however, if you need any further advice or can’t find what you need, please Contact Us.
7. Trim & Prune
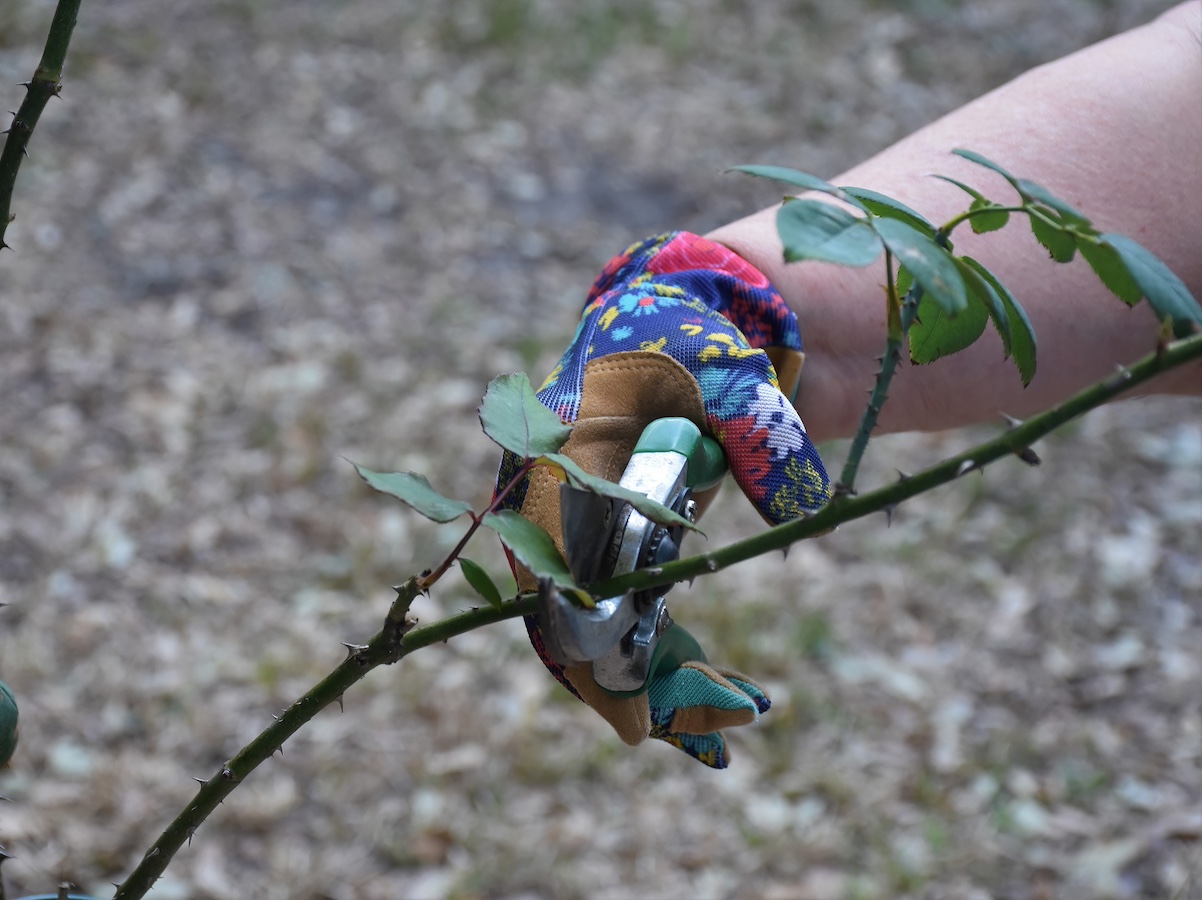
On the gardening side, you need to spend a little time trimming back any overhanging and overgrown trees, plants and bushes to tidy up the appearance of your patio and prevent them from encroaching on the space.
Remove any dead or diseased plants in containers and replace them with fresh greenery or seasonal flowers to add colour and vibrancy to your outdoor oasis.
The Gardener’s World website has a Monthly Gardening Checklist that is a great way of seeing which jobs we should be tackling at this time of year.
8. Feed Your Lawn
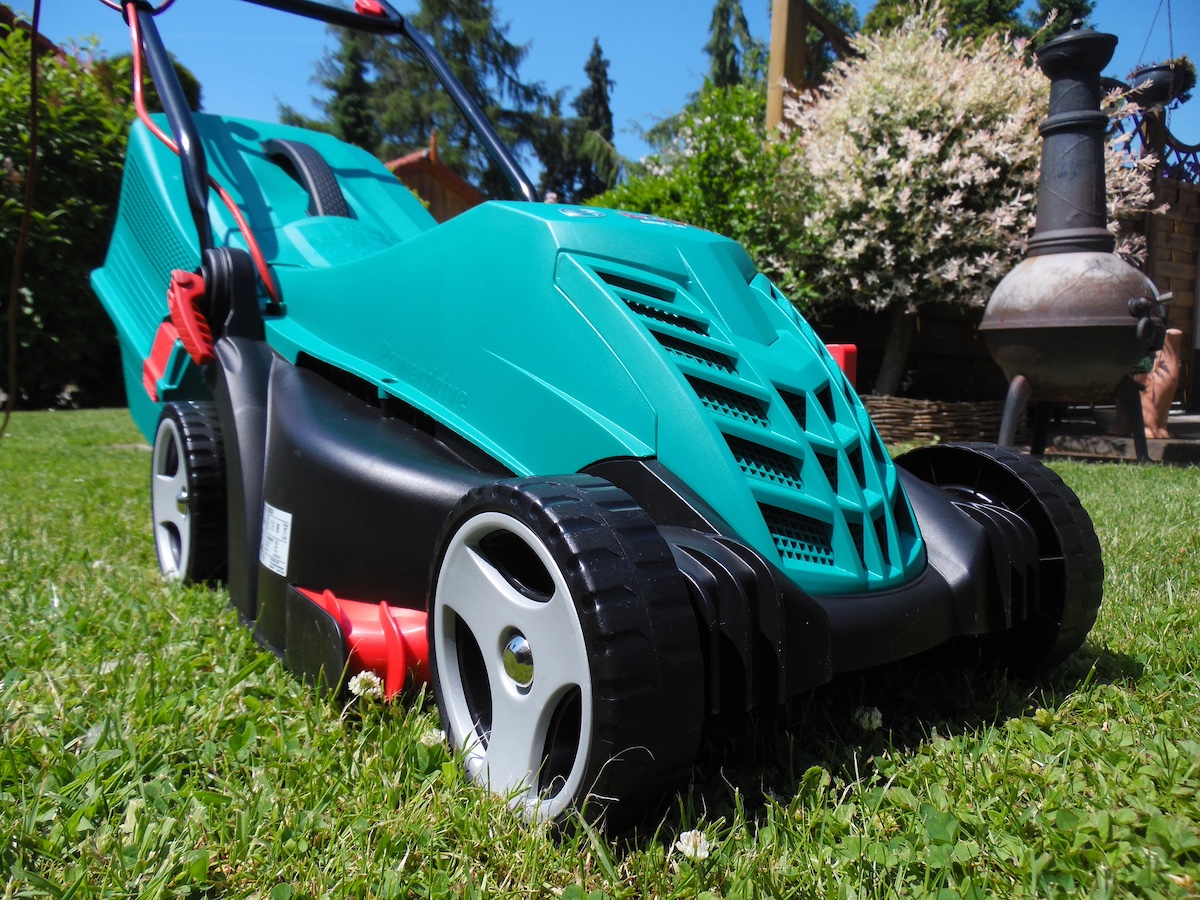
Spring is also the perfect time to feed our lawns, as long as the grass has come out of dormancy and is actively growing. Winter depletes the soil of nutrients, so feeding your lawn now will help to replenish it and get it looking lush for summer.
This is especially important for lawns that have been heavily stressed during the winter from rain, snow and frost, and a healthy lawn is also less susceptible to weeds.
Our How to get your lawn ready for summer article has some great tips for this time of year.
9. Clean Your BBQ
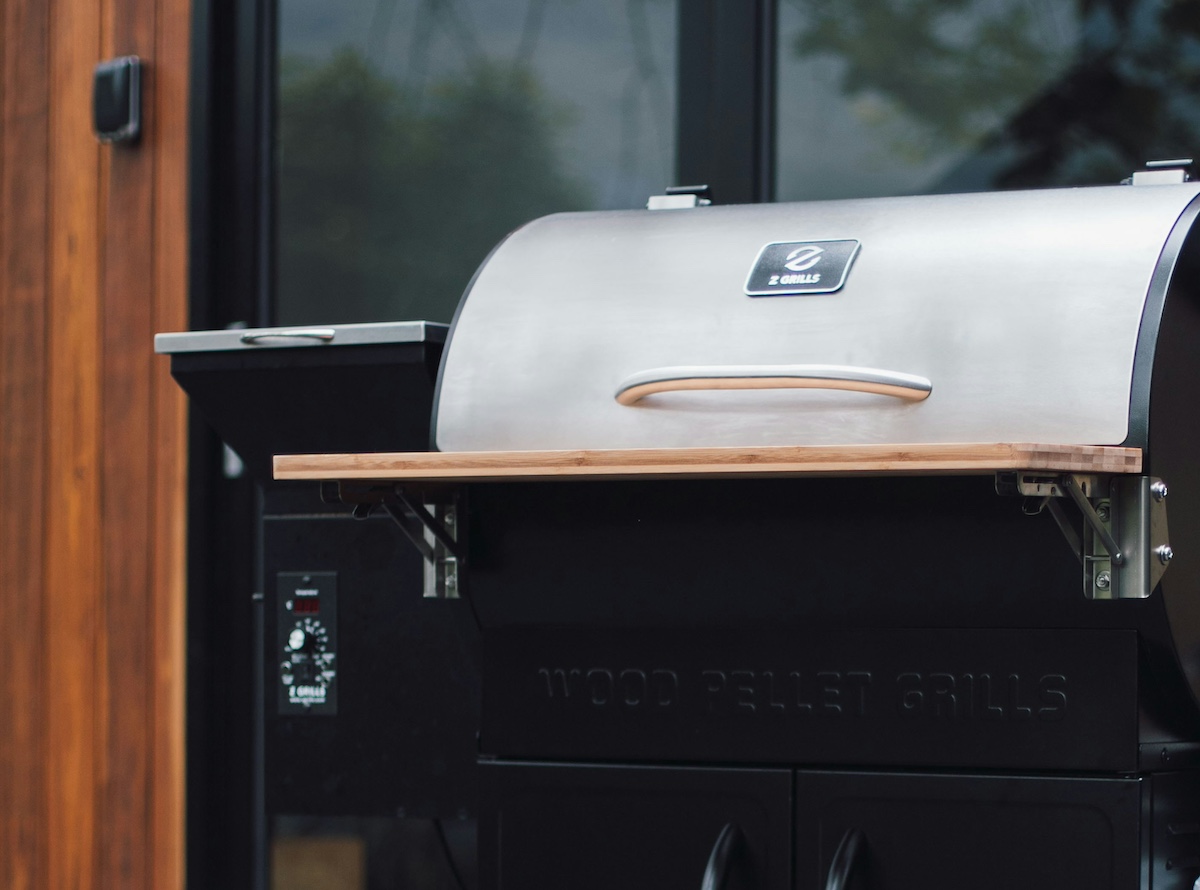
If you have a grill or outdoor cooking equipment such as a Pizza Oven on your patio, give it a thorough spring clean to remove any built-up grease, food residue, and debris on the grates, burners, and exterior surfaces
Also, check propane levels or charcoal supplies and restock as needed so you’re ready to fire up when the sun shines and temps are up.
If your BBQ has been stored under a cover or in a shed or garage, then you must clean it in the right way before you fire it up for the first time this summer.
Our How to get your barbecue grill ready for summer article has some great tips and product recommendations.
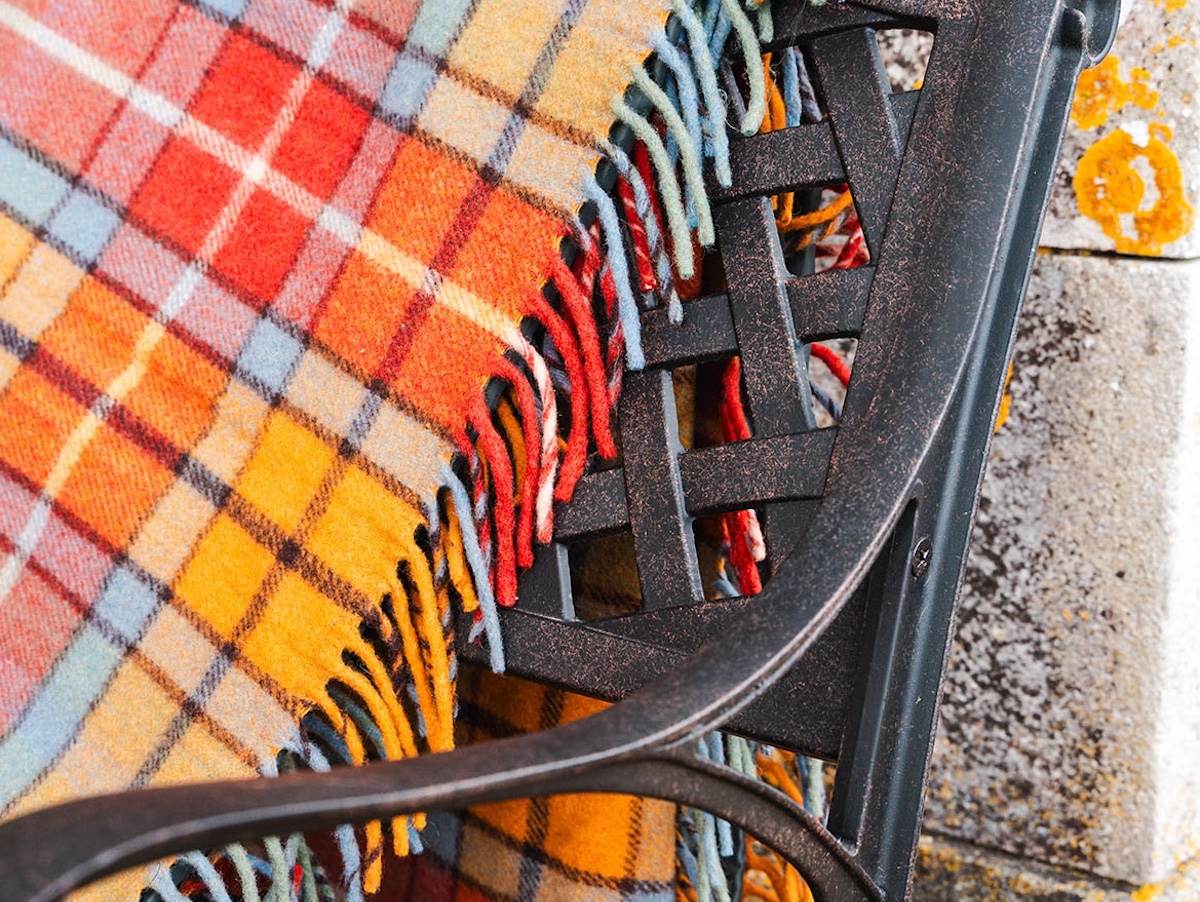
10. Refresh Patio Decor
If things are looking a little tired or you just want to freshen the space up for Summer 2024, look at adding new or replacing existing decor.
Decorative elements such as cushions, outdoor rugs, throws, or potted plants can make a difference to the look and feel of your patio, helping to create a welcoming atmosphere.
We recently posted our How can you style and accessorise outdoor dining sets for 4 people? article lists some of our favourite styling and accessory tips if you need a little inspiration.
11. Seal/Stain/Repair Your Patio
If your patio surface is looking a little tired, then spend some time applying a fresh coat of sealant or stain to protect and enhance its appearance for summer.
Depending on the surface material, look for a product that will protect it from the elements and get it looking its best for the summer.
Follow the manufacturer's instructions when it comes to application and be sure to allow adequate drying time before using the patio again or putting items back on.
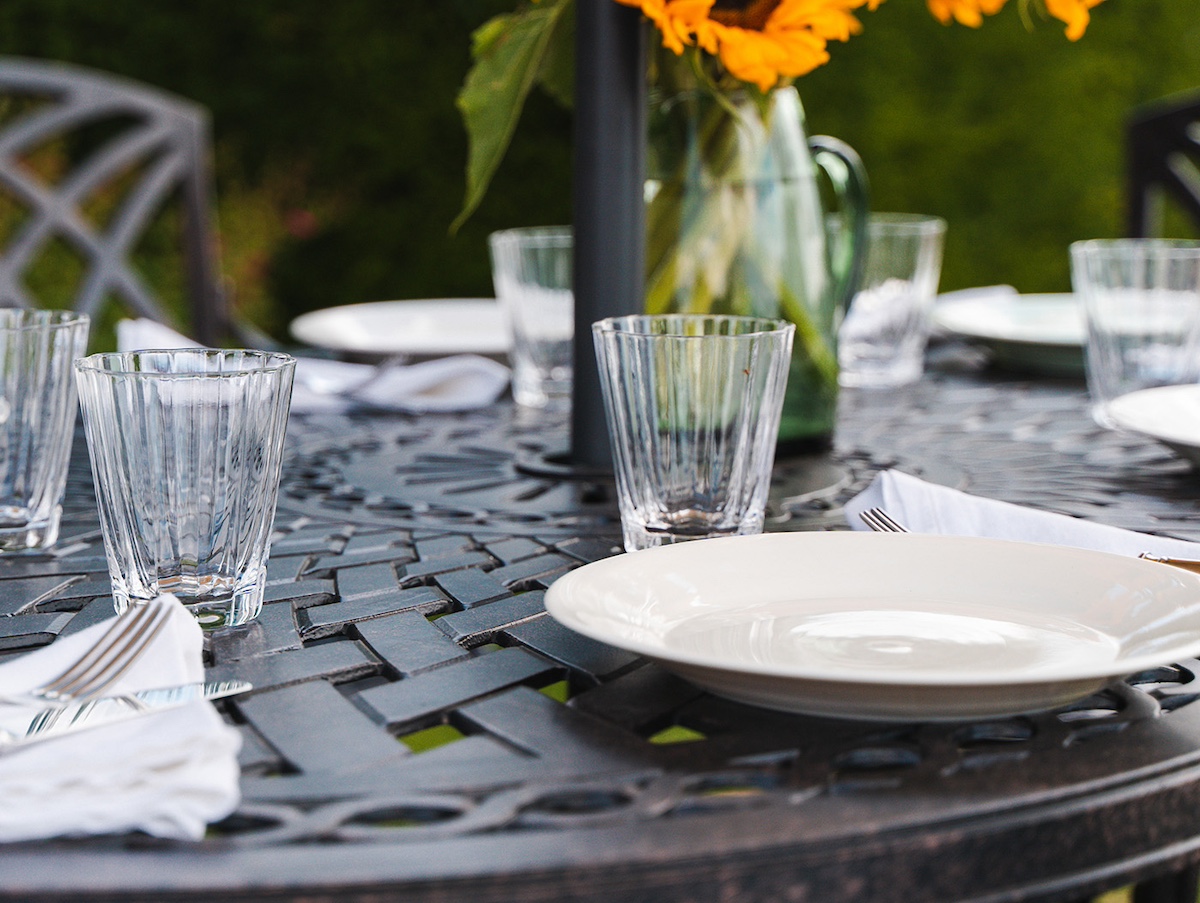
12. Add Finishing Touches
Once your patio is de-cluttered, clean and looking summer-ready, add a few finishing touches such as re-arranging furniture, adding a new garden table centrepiece, setting up your outdoor dining area, and accessorising with decorative accents, you’re ready for relaxation.
By following these 12 simple steps, you can give your patio a full spring clean to create a clean, organised, and inviting outdoor space where you can relax, entertain, and enjoy what will hopefully be a long hot summer.
If you have any photos of your Lazy Susan Garden Furniture in your garden or patio, we’d love to see a few for our Do Some Good charity campaign. You can tag us @LazySusanFurniture on Instagram or Facebook or Upload Here.